
By the FlowUP team, gaming PC builder in Genappe (Belgium) · Updated 28 September 2026
In short: the XMP (Intel) or EXPO (AMD, DDR5) profile lets your RAM run at the speed advertised on the box, instead of the standard JEDEC base speed. To enable it: enter the BIOS (Delete or F2 key at startup), open the memory or overclocking section ("AI Tweaker", "OC", "Tweaker"), set the XMP, EXPO or DOCP option to "Profile 1", then save with F10. If the PC becomes unstable, disable it or do a Clear CMOS.
In the world of PC optimisation, system memory (RAM) plays a fundamental role in an computer’s overall performance. Whether you’re a gamer, a content creator, or simply a demanding user, fully unlocking your RAM’s potential can make a real difference. That’s where the XMP profile (eXtreme Memory Profile) comes in, a feature designed to get the very best out of your memory sticks.
In this guide, we explain what XMP is, what it really brings, and how to enable it step by step without risking system stability. To choose your RAM sticks, also see how to choose your RAM in 2026 and 16 GB or 32 GB of RAM in 2026.
What is XMP?
The XMP, or eXtreme Memory Profile, is a technology originally developed by Intel. It allows RAM modules to run at higher frequencies than the standard specifications set by the JEDEC (the basic standard for memory). In practice, instead of running at a “safe” frequency (e.g.: 2133 MHz for the DDR4), the RAM can reach speeds like 3200, 3600, or even 4000 MHz in DDR4 and 7200MHz in DDR5 thanks to these optimised profiles.
The XMP stores in memory pre-defined profiles containing the optimal settings (frequency, latency, voltage) tested by the manufacturer. This lets users easily enable these settings in the motherboard’s BIOS/UEFI, without having to configure them manually.
How can I access my PC’s BIOS easily?
Why enable XMP?
The main benefit of enabling XMP is to improve overall computer performance. With faster RAM and better-optimised timings, you can notice:
- Reduced loading times in video games.
- Improved smoothness in multitasking tasks.
- Faster rendering when editing video or 3D.
- Better overall system responsiveness.
Without XMP, your RAM will run at its base frequency, which limits its potential. In addition, XMP profiles are designed by RAM manufacturers to be safe and stable, making it a simple and reliable way to gain extra performance without having to go into manual overclocking.
Enabling XMP can lead to a slight increase in temperature or power consumption. In most cases, these effects are negligible and do not affect the lifespan of the RAM or system stability, provided that the hardware is compatible.
Is your hardware compatible?
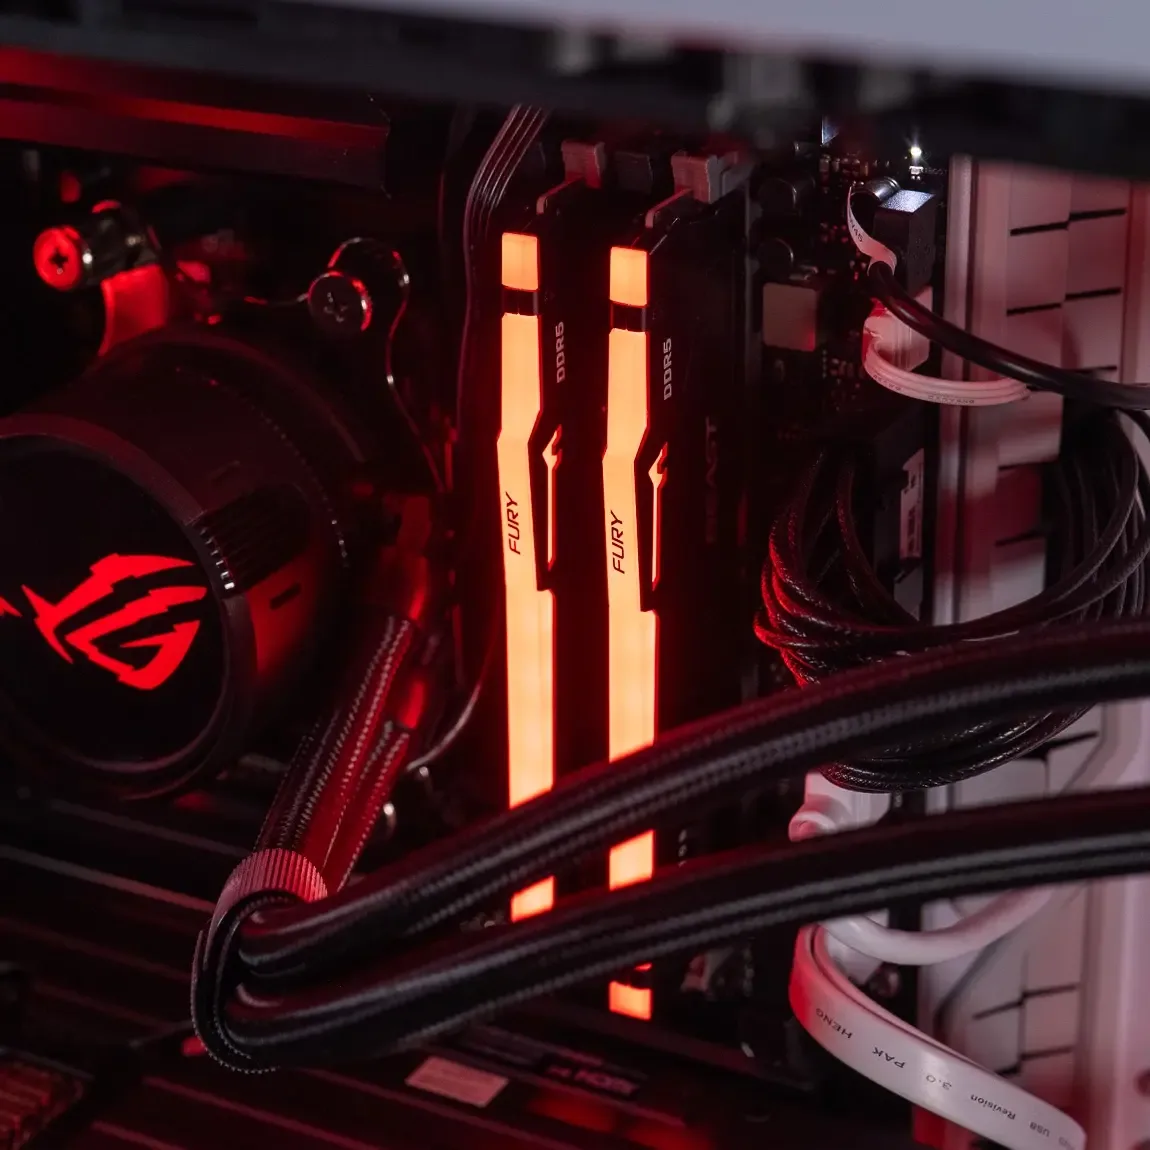
Before enabling the XMP profile, it is essential to check that your hardware configuration is compatible with this feature. Not all computers support XMP, and this depends mainly on three components: the motherboard, the processor, and the RAM.
1. XMP-compatible motherboard:
Newer motherboards, especially those designed for Intel processors or AMD Ryzen, generally support XMP or an equivalent version. Check on the motherboard manufacturer’s website whether XMP support is clearly mentioned. Terms such as DOCP (on ASUS for AMD) or EXPO (on AMD for DDR5) can also be used.
2. XMP-compatible RAM:
Not all RAM sticks come with XMP profiles. Look for the wording “XMP Ready” or “Intel XMP Certified” on the label or in the memory’s specifications. Brands such as Corsair, G.Skill, Crucial, or Kingston offer many compatible models.
3. Compatible processor:
Most modern CPUs support XMP, but some entry-level ranges or laptop computer processors may have limitations.
Useful tools:
- CPU-Z : to check which XMP profiles are available ( Download it here )
- HWiNFO or Thaiphoon Burner: for advanced memory details.
Steps to enable the XMP profile in the BIOS
XMP activation is done directly in the BIOS (or UEFI) of your computer. Here are the steps to follow:
1. Restart the computer:
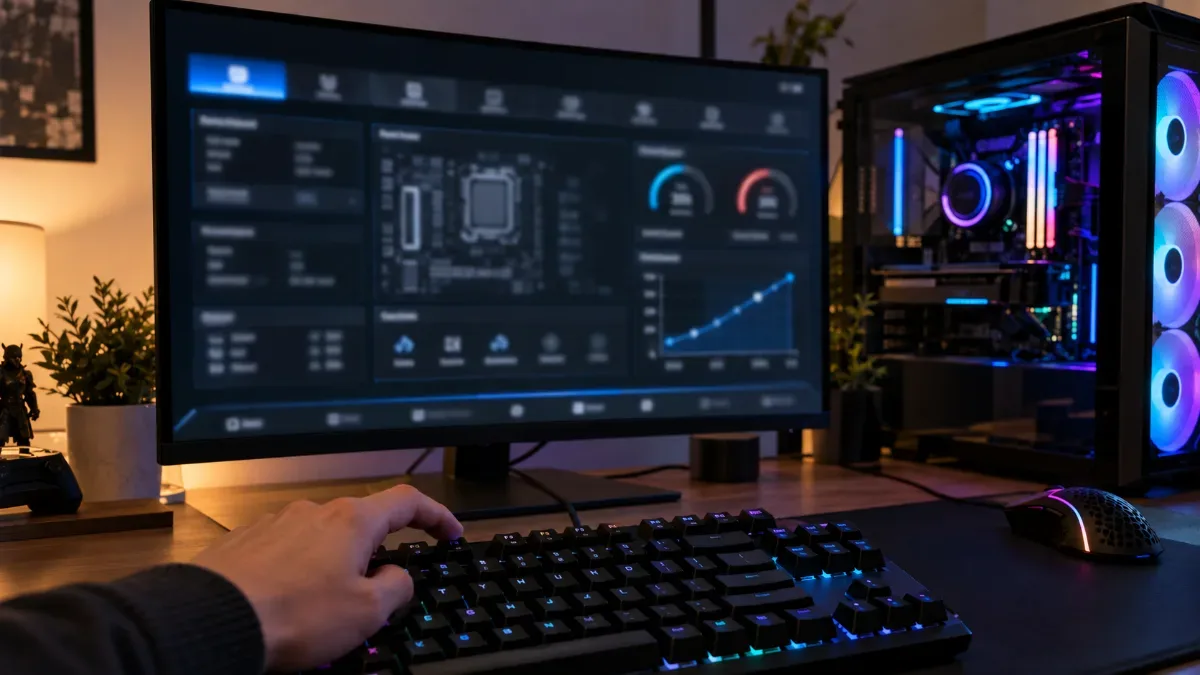
Press the BIOS access key as soon as the system starts. This key varies by brand: F2, F10, Delete, or Escape are the most common. It appears briefly on-screen during startup.
2. Go to the memory configuration menu:
Once in the BIOS, go to the section called “AI Tweaker”, “OC”, “Extreme Tweaker”, or “Advanced”, depending on the manufacturer (ASUS, MSI, Gigabyte, ASRock...).
3. Find the XMP option:
Look for an option titled “XMP”, “Extreme Memory Profile”, or sometimes “Memory Profile”. Enable it and select the desired XMP profile. There may be multiple profiles (XMP 1, XMP 2...) with different speeds.
4. Save the settings:
Use the F10 key to save and exit the BIOS. Your computer will restart with the RAM configured to XMP speed.
What should you do if the PC crashes after enabling XMP?
Sometimes, enabling the XMP profile can cause system instability. It’s rare, but possible, especially if the hardware is old, poorly cooled, or if the timings are too aggressive.
Here’s how to respond:
1. Signs of instability:
- Frequent reboots
- Blue screen (BSOD)
- Lags or freezes
- Unable to boot
2. Solutions:
- Disable XMP: go back into the BIOS and turn off the XMP profile. Your RAM will then run with the standard JEDEC settings, which are safer.
- Change the XMP profile: some modules offer multiple profiles. Try a more conservative profile (e.g.: XMP 1).
- Update the BIOS: sometimes, a motherboard firmware update resolves memory compatibility issues.
- Adjust the voltage manually (VDDQ/VDIMM): for advanced users only, this can sometimes help stabilise the RAM.
3. Test stability:
Use a tool such as MemTest86, OCCT, TestMem5 to check whether the memory stays stable with the profile enabled.
XMP vs DOCP vs EXPO: what are the differences?
When we talk about advanced memory profiles, we come across several terms depending on the motherboard manufacturer or the processor. Although they have the same goal, optimising RAM performance, they differ slightly from one platform to another.
XMP (Extreme Memory Profile) :
Developed by Intel, it’s the best-known and most widely used standard. It lets you automatically load preconfigured profiles in the BIOS to run the RAM at higher speeds than the JEDEC specification.
DOCP (Direct OverClock Profile) :
It’s the equivalent of XMP for ASUS motherboards fitted with AMD Ryzen processors. DOCP allows these boards to read XMP profiles, even if they were originally designed for Intel processors.
EXPO (EXtended Profiles for Overclocking) :
A newcomer, EXPO is a technology created by AMD for DDR5 RAM modules. It provides better support for the optimised profiles on the AM5 platforms.
In summary:
| Profile | Created by | Memory | In practice |
|---|---|---|---|
| XMP | Intel | DDR4 and DDR5 | The most widely used standard, recognised by most motherboards |
| EXPO | AMD | DDR5 | AMD’s open profile, designed for Ryzen 7000, 8000 and 9000 (AM5) |
| DOCP / A-XMP | ASUS / MSI on AMD | DDR4 and DDR5 | Reading an XMP profile on an AMD motherboard |
Depending on your motherboard, one of these options will automatically appear in the BIOS. They all have the same role: automatically overclocking the memory safely.
Advanced tips for expert users
If you’ve got a good handle on your system, you can go beyond standard XMP profiles and customise your RAM settings to get even better performance. Note: this requires caution and know-how.
1. Modify timings manually:
Timings (such as CL, tRCD, tRP, tRAS) define RAM responsiveness. By reducing them slightly, you can reduce latency. Use a tool like DRAM Calculator for Ryzen for AMD, or refer to the manufacturer’s specs for Intel.
2. Adjust voltages:
The RAM voltage (VDIMM) is generally around 1.35V for XMP profiles. To improve stability at high frequencies, some enthusiasts increase it slightly (e.g.: 1.37V), but this creates more heat and reduces the lifespan if not properly controlled.
3. Test stability with precision:
- MemTest86: a very reliable bootable memory test
- TestMem5 with the Extreme@anta777 profile: recommended for demanding setups
- Karhu RAM Test, paid but very comprehensive
4. Save multiple profiles in the BIOS:
Some high-end motherboards let you save different custom memory profiles, which is useful for quickly switching from a stable profile to an extreme one as needed.
What performance gains should you expect from XMP?
The gain depends on the processor, the game, and the gap between the base speed and the XMP speed. Here’s what we generally see between RAM with XMP enabled and the same RAM in standard mode (JEDEC).
1. For gaming:
- Enabling XMP provides a measurable FPS boost, especially in CPU-limited games and in 1080p, where memory is used the most.
- E-sports games (Counter-Strike 2, Valorant) benefit from a faster response time, which is essential for responsiveness.
2. For video editing:
- With Adobe Premiere Pro or DaVinci Resolve, the render time decreases, especially if your project is heavy.
- Opening large files and previewing tasks is smoother.
3. For multitasking:
- When you open multiple applications at the same time (browser, office software, image processing), the experience becomes much more responsive.
4. Temperatures and power consumption:
- Generally, enabling XMP slightly increases the RAM temperature. There’s nothing to worry about if your case is well ventilated.
- Power consumption stays low, even with XMP profiles at 4000 MHz+.
Frequent issues and their solutions
Even though enabling XMP is generally straightforward, some users encounter common problems. Here’s a recap of the possible difficulties and how to resolve them effectively.
1. The XMP option doesn’t appear in the BIOS:
This may mean that your motherboard doesn’t support XMP, or that the installed RAM doesn’t have XMP profiles. Check:
- If the BIOS is up to date
- That the RAM sticks are fitted correctly in the right slots (generally A2 and B2)
- That you’re using the advanced mode in the BIOS/UEFI
2. The system crashes after enabling XMP:
This issue may be caused by:
- Insufficient RAM voltage
- Incompatibility between the RAM and the motherboard
- Unstable power supply
Solutions: try a different XMP profile, disable XMP, or enter more stable manual values.
3. The computer restarts in a loop or won’t turn on:
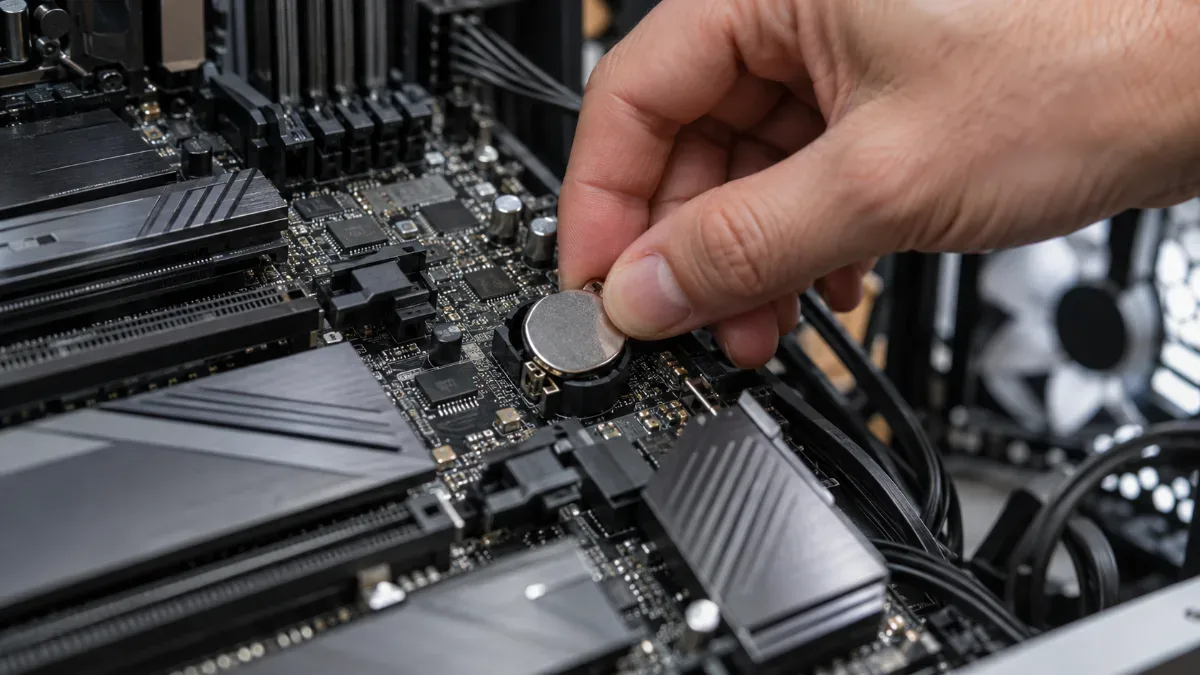
In that case, you need to do a Clear CMOS (reset the BIOS): either using the dedicated button on the motherboard, or by removing the CMOS battery for a few minutes, with the PC unplugged. All settings return to their original state. Our guide Clear CMOS: what it is and how to do it details the 3 methods.
Tips for gamers
Gamers have every reason to enable the XMP profile to get the most out of their components, especially when they use powerful processors and latest-generation graphics cards.
1. Better FPS with XMP:
For example, with DDR4 3600 MHz CL16 RAM, XMP provides significantly better average FPS than the same RAM limited to 2133 MHz. The difference is most noticeable in 1080p, where the CPU and RAM work more than the graphics card.
2. Latency reduction:
XMP often enables tighter memory timings, which improves system latency. This results in better responsiveness, especially in competitive games such as Valorant, Fortnite, or Call of Duty Warzone.
3. Multitasking smoothness during gaming:
Enabling XMP makes streaming, video capture, or running software simultaneously (OBS, Discord, browser) easier, because the memory bandwidth is wider.
Bonus tip: opt for identical dual channel memory sticks (frequency, timings, brand) to maximise performance.
Tips for video editing or 3D
The creation professionals who work with video editing software, 3D modelling, or photo retouching can also benefit greatly from enabling XMP.
1. Faster renders:
With fast RAM, the render times in Adobe Premiere Pro, After Effects, or DaVinci Resolve can drop significantly, especially on 4K projects with lots of effects.
2. Fewer stutters:
Using XMP makes it easier to manage complex scenes in Blender, Cinema 4D, or Autodesk Maya, particularly when dealing with heavy textures or simulations.
3. Advantage for professional multitasking:
Creators often work with multiple applications open at the same time. Thanks to XMP, loading large files, real-time playback, and multitask computing are far more smooth.
Tip: If you use intensive software, consider pairing enabling XMP with an increase in the total amount of RAM (e.g. 32 GB or 64 GB) for an even more noticeable gain.
How can you tell if XMP is properly enabled?
Once XMP is enabled in the BIOS, it’s essential to check that the profile works correctly. Several simple methods allow you to confirm this from Windows.
1. Via Task Manager:
- Open the Task Manager (right-click the taskbar → “Task Manager”)
- Go to the “Performance” tab, then select “Memory”
- Check the RAM speed shown. If it matches that of the XMP profile (e.g. 3200 MHz), that’s a good sign.
2. With CPU-Z:
- Download and open CPU-Z
- Go to the “Memory” tab
- Check the DRAM Frequency and multiply it by 2 (for example, 1600 MHz × 2 = 3200 MHz). This confirms the effective frequency.
- Compare with the “SPD” tab to see the stored XMP profiles in the RAM.
3. Other useful tools:
- HWiNFO: for advanced memory details
- Thaiphoon Burner: to display the exact XMP timings
- AIDA64: to test memory performance
These tools also let you monitor stability, temperature, and voltages, which is crucial after you’ve changed the memory profile.
Do you prefer a built, ready-to-play PC? Find all our gaming PCs, for example:
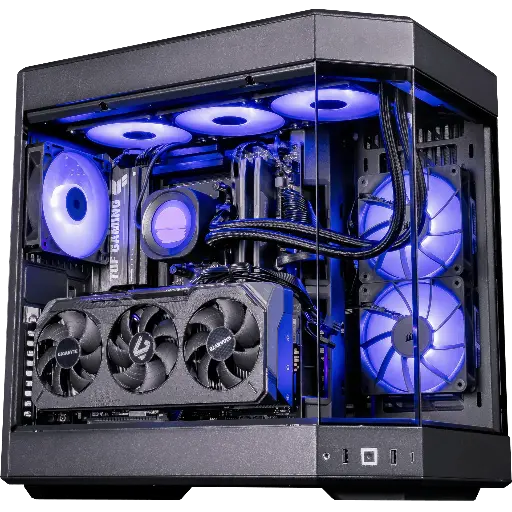
PC Shadow V2, Radeon RX 9070 XT
Ryzen 7 9800X3D and RX 9070 XT: an AM5 platform made for DDR5 and 1440p gaming.
FAQ: XMP profile
Does XMP void the warranty on my RAM or motherboard?
No. XMP profiles are validated by the RAM manufacturer. However, some motherboards state that overclocking could theoretically void the warranty in the event of damage. In practice, this is very rare.
Can you enable XMP on a laptop?
In most cases, no. The BIOS on laptop PCs is often restricted and doesn’t allow you to change memory profiles. Only some high-end gaming models allow it.
Can I create a custom XMP profile?
XMP profiles are written into the RAM’s EEPROM memory and cannot be modified directly. However, you can manually set the frequencies and timings in the BIOS, and then save these settings as a user profile on certain motherboards.
How long does RAM last when using XMP?
If the voltage stays within safe values (around 1.35V to 1.4V) and the RAM is well cooled, the lifespan will not be reduced. RAM is designed to handle these profiles.
Should I enable XMP if I don’t play games?
Yes, in most cases. Even for office work, web use, or multimedia, faster RAM improves day-to-day comfort and reduces loading times.
