Your PC in instalments (up to 12x)
When you plug in a brand-new hard drive, an SSD, or a secondary drive to your PC, it often doesn’t appear immediately in Windows.
The reason? The drive is not initialised yet. This is a necessary step so the system recognises, formats and uses the storage.
This guide shows you step by step how to initialise a hard drive safely and properly — whether it’s a traditional HDD, a SATA SSD, or NVMe.
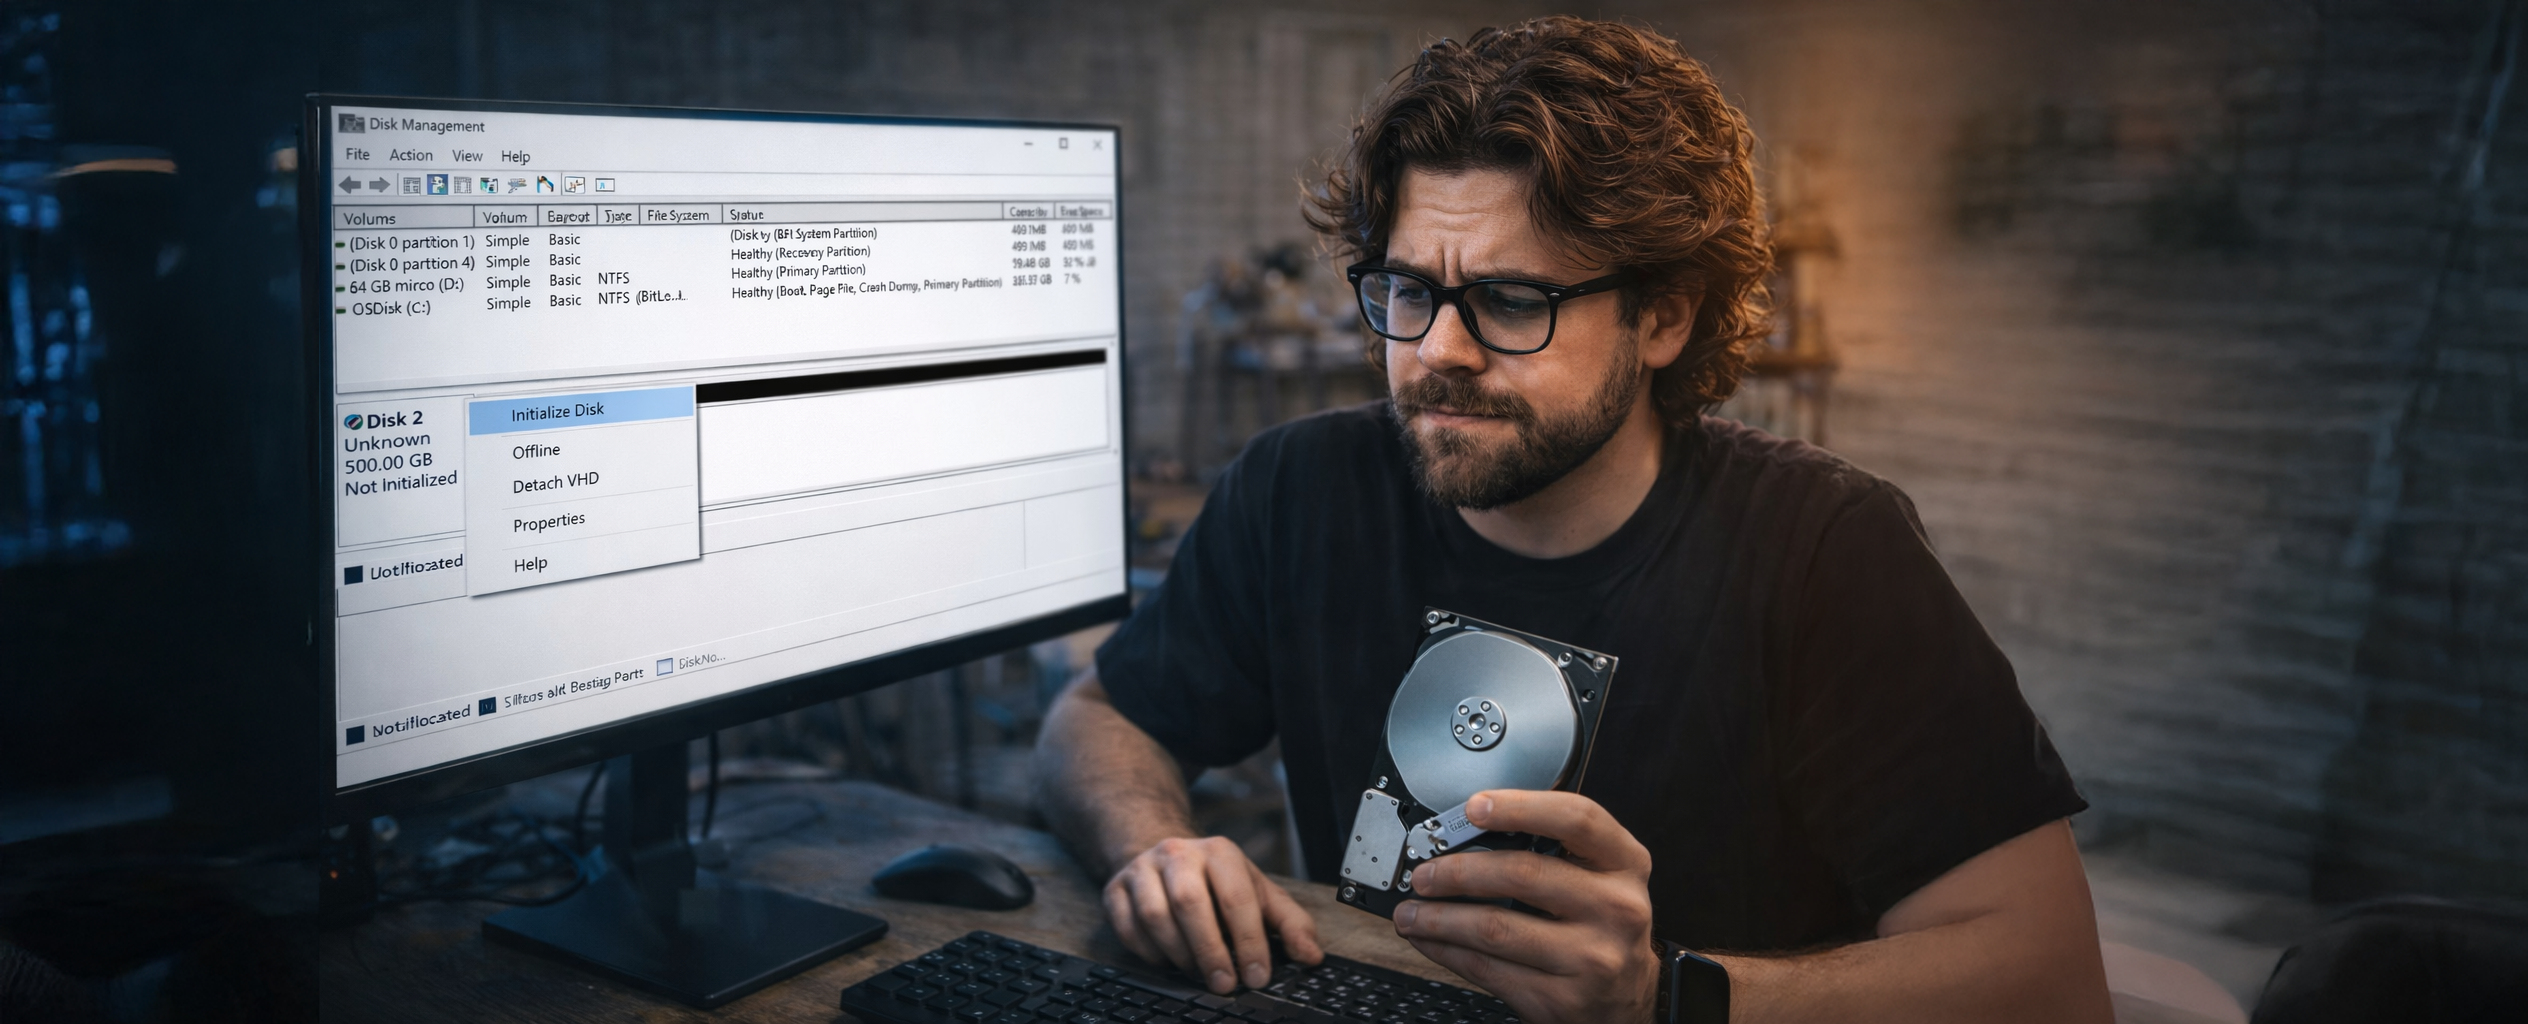
Note: ⚠️ Warning : initialisation usually deletes all existing data on the drive.
If the drive contains important data, use a recovery tool before you proceed.
What is “initialising” a drive?
Before it can be used, a drive must be prepared:
- a partition table is created
- a file system is defined
- the space is formatted
👉 Without initialisation, Windows can’t display or write to the drive.
When do you need to initialise a drive?
Here are the most common cases:
- You plug in a completely new drive
- You’ve replaced a drive in a PC
- You’ve deleted all partitions on a drive
- You want to use an external drive on a PC for the first time
If your drive doesn’t show up in File Explorer but is visible in Disk Management, it’s almost always due to the drive not being initialised.
Step 1 — Open the disk management tool
The first step is to open the tool that lets you see all connected drives:
- Right-click the Start menu
- Select Disk Management
- Wait a few seconds for the list to load
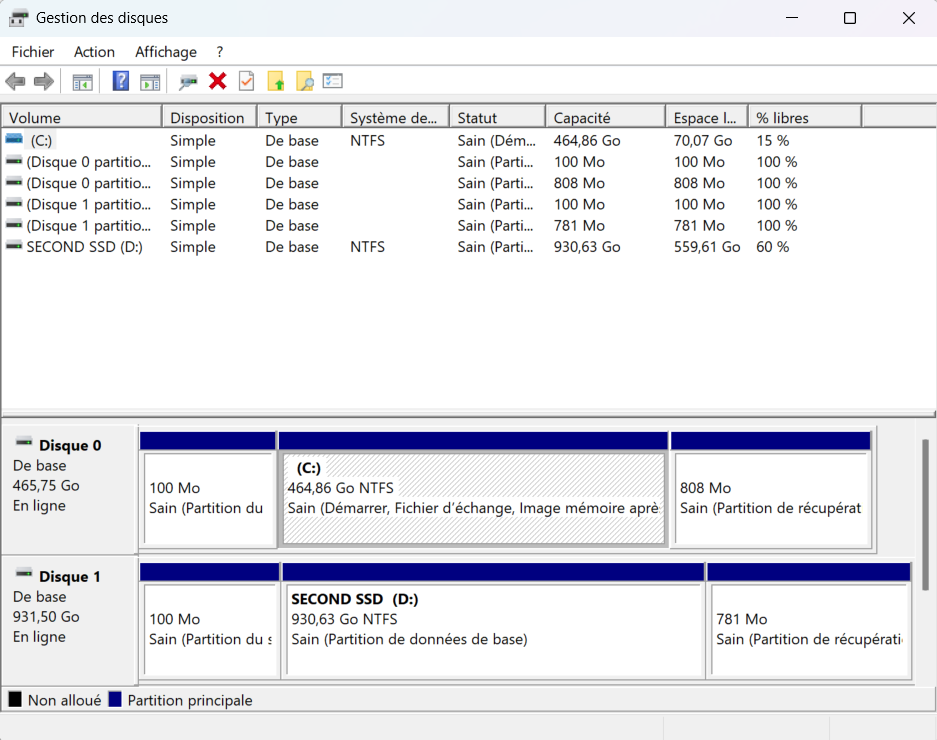
You should see:
- your existing drives
- a drive marked Not initialised
- or an area of Unallocated space
Step 2 — Initialise the drive
If a drive hasn’t been initialised yet, Windows will automatically show a window called “Initialise the disk”.
Here’s how to do it:
- In the window that appears, select the uninitialised drive
-
Choose the partition table type:
- MBR (Master Boot Record) → compatible with many systems, but limited to 2TB
- GPT (GUID Partition Table) → recommended in 2026, compatible with UEFI, supports more than 2TB
- Click OK
👉 In general, GPT is the best choice for modern PCs, especially if you want to use large drives or newer BIOS/UEFI systems.
Step 3 — Create a partition and format
Once the drive has been initialised, it will appear as Unallocated space:
- Right-click the unallocated space
- Select New simple volume
-
Follow the wizard:
- partition size (in general, you keep all the space)
- drive letter
- format as NTFS (default for Windows)
- Give your drive a name if you want
- Confirm
Windows formats the drive and it becomes available straight away in File Explorer.
MBR vs GPT: how to choose in 2026
GPT (GUID Partition Table) is the modern standard:
- Support for drives > 2TB
- UEFI compatibility
- More primary partitions possible
MBR is useful if you:
- work with older systems (Windows earlier than Vista)
- need to make the drive compatible with very old PCs
👉 For any typical use today, choose GPT.
Initialise an external or USB drive
The process is the same, but sometimes the tool doesn’t offer initialisation automatically.
In that case:
- Open Disk Management
- Find your external drive
- Right-click → Initialise
- Then create a simple volume and format it
💡 Make sure you use a good cable and a powered USB port to avoid access errors.
What to do if the “Initialise” option doesn’t show up?
If nothing happens when you plug in the drive:
- Check in Disk Management whether it appears
-
If the drive is not visible at all, try connecting it:
- to another SATA / USB port
- or in a different enclosure or adapter
- Test with another cable
- Restart Windows
If the drive is still invisible, it could be:
- a hardware issue with the drive
- a power problem (USB that isn’t supplying enough power)
- a problem with the SATA/USB controller
What happens after initialisation?
Once it’s initialised and formatted:
- The drive is ready to use straight away in File Explorer
- You can copy, delete, and manage files on it
-
You can use it for:
- games
- backups
- large applications
- Multiple partitions
Fix an initialisation error
If Windows shows you an error message during initialisation:
-
Try another tool :
👉 diskpart (Command Prompt)
👉 PowerShell
👉 recognised third-party tools (e.g. MiniTool Partition Wizard)
Example with diskpart :
- Open Command Prompt as administrator
- Type diskpart
- Type list disk
- Type select disk X (replace X with the number)
- Type clean (deletes the entire partition table)
- Go back to Disk Management to reset
Common errors and solutions
| Problem | Likely cause | Solution |
|---|---|---|
| Disk not visible | Faulty SATA/USB port | Change port/cable |
| No “Initialise” option | Windows can’t see the disk | Check in diskpart |
| Formatting error | Hardware issue | Test with another PC/enclosure |
Key takeaways
Initialising a hard drive, SSD, or a new storage medium isn’t complicated, but there are logical steps to follow :
👉 check the disk in Disk Management
👉 choose GPT for most modern uses
👉 create a partition and format
👉 use tools like diskpart if needed
This process ensures that your storage is ready to use without any issues.