By the FlowUP team, gaming PC builder in Genappe (Belgium) · Updated 28 September 2026
In short: to choose the right PC fan, start by looking at where it will go: in front of a radiator or a tight filter, go for static pressure; for a mesh front or to move air around inside the case, go for airflow (airflow). Choose PWM models (4-pin) so the motherboard can control their speed, prefer 140 mm for quieter operation, and aim for a simple flow: intake at the front and bottom, exhaust at the back and top.
PC case fans are no longer just simple “parts you install by default”. In 2026, they’re an integral part of thermal management, silence, aesthetics, and hardware compatibility.
With GPUs and CPUs more powerful than ever, choosing the right fans can drastically improve temperatures, reduce noise, and ensure a more durable PC.

Airflow vs static pressure: understanding the two approaches
Two terms come up all the time:
Airflow (CFM)
It’s the volume of air moved. Prioritise airflow when you want to move lots of air through open grille or mesh panels, or simply cool the entire case.
Static pressure (mmH₂O)
This is the ability to push air against resistance (AIO radiator, tight grilles, dust filters, watercooling radiator). If you mount fans behind a radiator or a tight heatsink, prioritise high static pressure.
👉 Practical rule for 2026:
- Assess the use case: radiators / filters / tight mesh → static pressure
- Very open panel / direct airflow → high airflow
| Position | Fan type to prioritise | Common size |
|---|---|---|
| Open mesh front, airflow through the case | High airflow (airflow) | 120 or 140 mm |
| AIO liquid-cooling radiator | High static pressure | 120 or 140 depending on the radiator |
| Solid front or tight filter | Static pressure | 140 mm |
| Rear exhaust | Airflow, moderate speed | 120 mm most often |
| Top exhaust | Airflow | 120 or 140 mm |
Size and speed: choosing the right combination
The most common sizes are:
- 120 mm: versatile, good airflow, easy to find
- 140 mm: often quieter for the same airflow
- 180 mm+: very good for overall air circulation, but less suited to tight radiators
Fan speed (RPM) isn’t everything:
- Too slow → low airflow
-
Too fast → loud noise
👉 Look for a good RPM vs efficiency compromise (airflow / effective pressure).
Connectivity and compatibility: PWM, ARGB, hubs
PWM vs non-PWM
PWM (4-pin) lets you precisely control fan speed via the motherboard or a controller, based on temperature.
3-pin gives a fixed speed (less control, often noisy or inefficient).
👉 Today PWM is essential on most gaming and creator builds.
Daisy-chain, Reverse ARGB & hubs: what you need to know
Daisy-chain
It’s a chain of fans connected in series (often via a single ARGB / PWM connector).
👉 Advantage: fewer cables → cleaner build, easier to sync.
To check: maximum load per chain (some hubs and motherboards limit the number).
Reverse ARGB
Some strips and fans use “reverse” ARGB connectors (reversed direction) compared with the standard 3-pin ARGB.
👉 In 2026, always check MB/hub compatibility before buying: some motherboards require an adapter or a dedicated hub to manage these fans correctly.
Also watch out for closed, proprietary ecosystems: some, like Corsair’s iCUE LINK, only accept fans compatible with the brand. Others, like Thermalright, offer so-called universal hubs.
Hubs & controllers
With the growing number of fans and ARGB strips, hubs have become indispensable:
- PWM hubs → control multiple fans via a single CPU_FAN or CHA_FAN cable
-
ARGB hubs → lighting synchronisation (ASUS AURA, MSI Mystic, Gigabyte RGB Fusion, etc.)
A good hub saves you from a pile of cables and from port limitations on the motherboard.
Fan direction: intake, exhaust & balance
Your airflow depends on the direction of the flow:
- Intake (bringing in fresh air, often at the front/bottom)
- Exhaust (expelling hot air, often at the rear/top)
Goal: balance
A typical setup:
- Front/bottom → intake
- Rear/top → exhaust
👉 Too much intake without enough exhaust → trapped hot air.
👉 Too much exhaust without intake → negative pressure → dust sucked in everywhere.
Simple starting point:
1 rear exhaust fan + 2 to 3 intakes at the front (open mesh) = a good starting point.
The mounting direction is the first source of mistakes: the arrow engraved on the fan frame indicates the direction of the airflow. This visual tutorial (in English) shows how to install a case fan, step by step.
For choosing the case itself, see our guide for choose your PC case.
Noise: dB, profiles, curves
Noise is still a major factor.
Worth knowing
- More air = often more noise
- Large-diameter fans (140/200 mm) spin more slowly and are often less noisy for the same airflow.
- Custom PWM curves let you have quiet idle and more power when it’s needed.
👉 Goal: aim for a well-ventilated case with efficient fans, not just fast ones.
Mounting points & case compatibility
A few practical rules:
- Check the maximum depth for AIO/tower cooler + fans
- Check the 120/140 mm mounting positions on the case
- Some modern cases use magnetic brackets or special rails for fans → neater, easier
👉 Don’t just go by the “number of fans included”:
Included product ≠ optimised airflow
ARGB / RGB: visual consistency
These days, lighting is everywhere.
Points to check:
- Universal ARGB compatibility (often 3-pin +5V)
- Synchronisation with the motherboard via ASUS Armoury Crate/ASRock/MSI Center/Gigabyte Control
- You can use an external controller if the motherboard doesn’t have enough ports
👉 A good ARGB setup is managed from the right software without conflicts, but always check the standards (some proprietary “RGB” don’t sync).
Mounting & maintenance
Key steps:
- Place the fans first, before any other component (empty case).
- Point them the right way (airflow towards the front/back/top).
- Use dust filters and clean everything every 2 to 3 months if you play often
- If you’re using a PWM/ARGB hub, make sure all the cables are properly secured and that the motherboard recognises each fan
👉 A good installation = better airflow + less noise + better temperatures.
Concrete recommendations for your fans in 2026
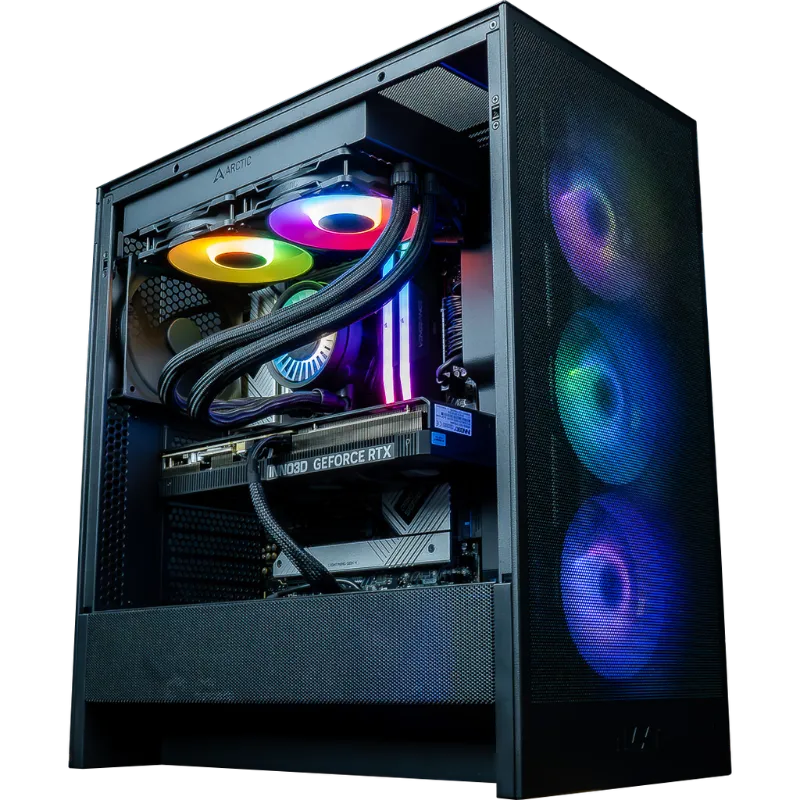
Quiet gaming setup (mesh front)
- 3 × 140 mm PWM intake
- 1 × 120 mm PWM exhaust
- Enough 4-pin fan connectors (PWM) and 3-pin 5 V ARGB connectors on the motherboard, synced with the manufacturer’s software
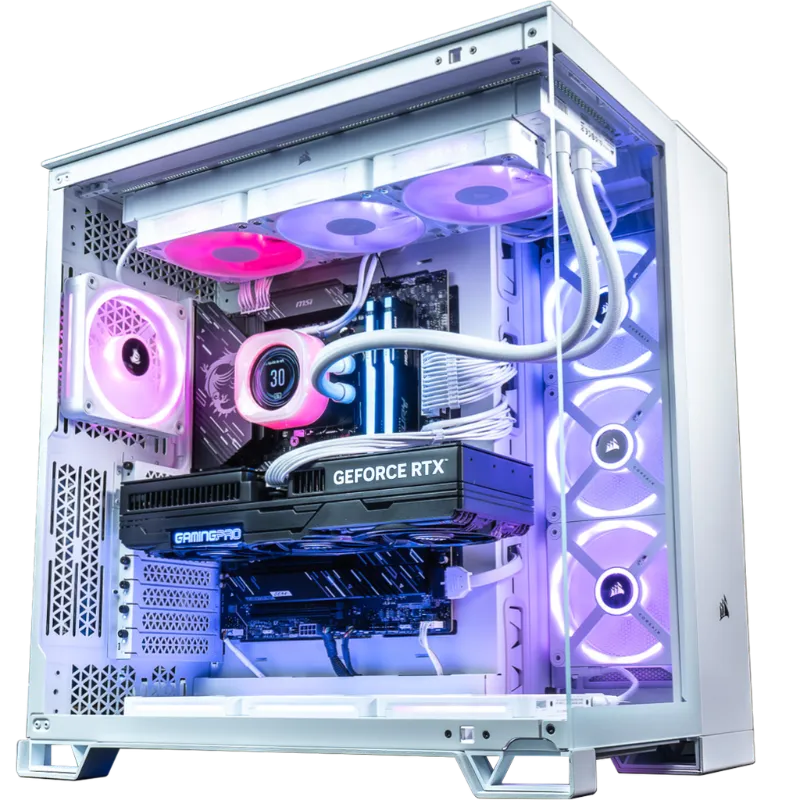
ARGB aquarium setup
- 3 × 120/140 mm static pressure on the front/top watercooling as exhaust
- 2/3 × 120/140 mm intake on the side (you can also take it in reverse)
- 3 × 120/140 mm intake on the bottom (you can also take it in reverse)
- 1 × 120 mm exhaust
- Fans running at low RPM for less noise
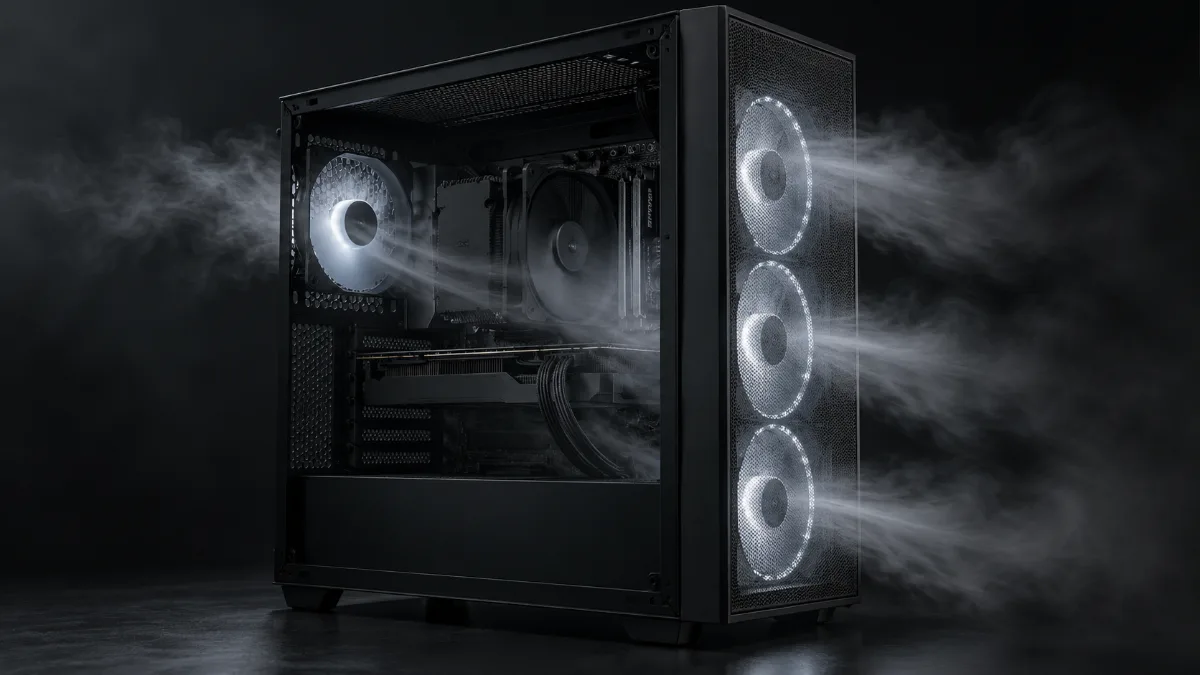
Clean & airflow setup
- Disable unnecessary fans
-
Fans without RGB, Daisy chain for cable management
- Progressive PWM profile
For more
Fans don’t do everything: CPU cooling matters just as much. Our comparison air cooler or watercooling helps you choose. And if your PC gets hot or starts to get noisy, read Why is my gaming PC overheating when I play? and My computer makes noise.
Gaming PCs with ventilation designed from the start
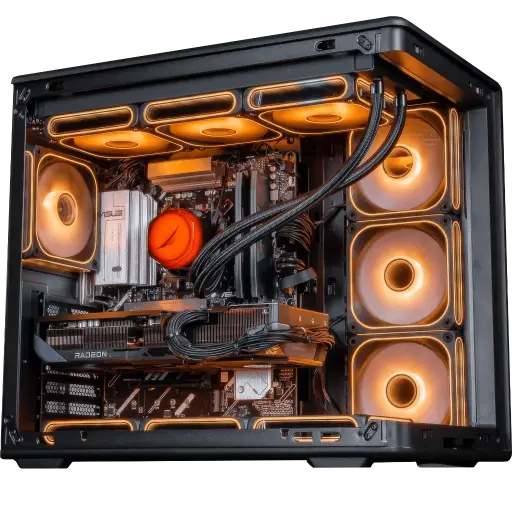
Apex V2 PC: Ryzen 7 7800X3D + RX 9070 XT
A restrained X3D processor in games and a well-ventilated case for a powerful PC that stays calm.
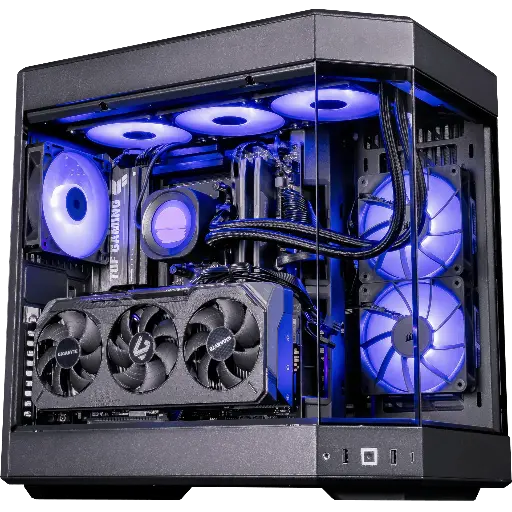
PC Shadow V2 : Radeon RX 9070 XT 16 GB
Ryzen 7 9800X3D, Radeon RX 9070 XT 16 GB and 32 GB of DDR5 RAM: XT power for 1440p and 4K.