
By the FlowUP team, gaming PC assembler in Genappe (Belgium) · Updated 28 September 2026
Does your PC make more noise, run hotter or lose performance after a few minutes of gaming? In most cases, dust is to blame: it clogs the filters and radiators, meaning the components are no longer cooled properly. A thorough cleaning lowers temperatures, makes the PC quieter and extends the life of the hardware. Here’s the step-by-step method we follow in the workshop, for both a gaming PC and a laptop.
In brief
- Always with the PC off and unplugged, block the fans before you blow.
- Equipment: can of dry air or electric air blower, soft brush, microfibre cloth.
- Order: exterior, filters, fans, CPU and graphics-card radiators, then finishing touches.
- Frequency: every 3 to 4 months for normal use; more often if you have pets or a dusty environment.
- Never use a standard vacuum cleaner near the components, and never put any liquid on the electronics.
Contents
- Why you should clean your PC dust
- Precautions and equipment
- Gaming PC cleaning: dust off your PC step by step
- Clean an AIO watercooler
- Clean a laptop PC
- When should you clean your PC?
- FAQ
Why you should clean your PC dust
Dust builds up on the fans, filters, radiator fins and ventilation grilles. It acts like insulation: air doesn’t flow as well, heat is released less effectively and temperatures rise gradually. The result is that the fans spin faster and louder, and beyond a certain threshold the processor and graphics card lower their clock speeds to protect themselves: you lose FPS. A clean PC runs cooler, stays quieter and lasts longer. PC cleaning is the basis of any PC maintenance, and it only takes about twenty minutes. If your PC is already running very hot, read our guide PC qui surchauffe.
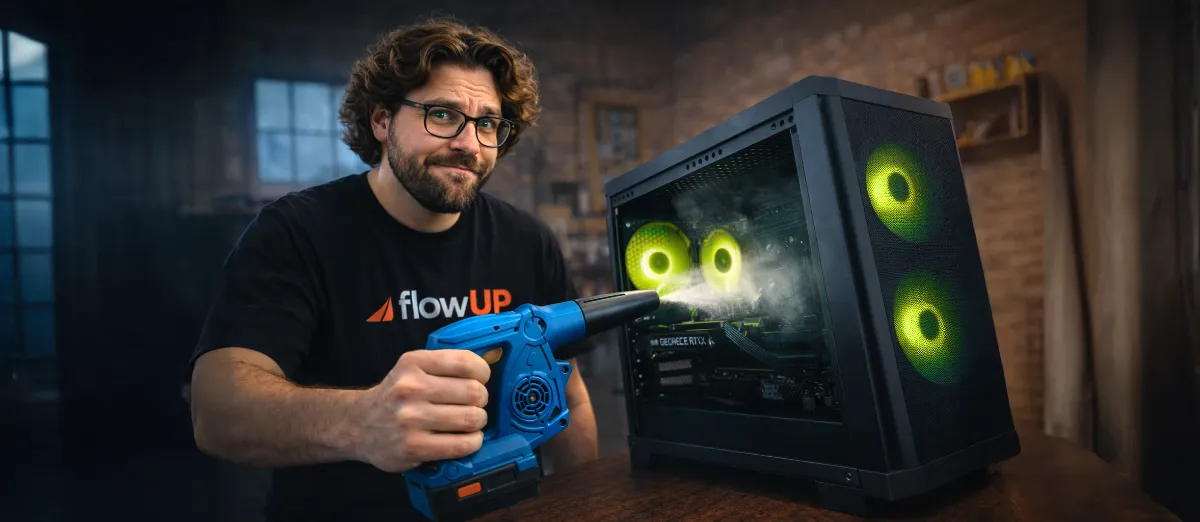
Dust acts like insulation: a clean PC runs cooler and stays quieter.
Precautions and equipment
Before you start:
- Completely switch off the PC and unplug all cables, including the power supply.
- Wait a few minutes for the components to cool down after a gaming session.
- Work on a clean table, ideally outdoors or near an open window.
- Touch a metal part of the case to discharge static electricity.
Useful equipment:
- A can of dry air (use it upside down) or an electric air blower.
- A soft-bristled brush.
- Cotton buds (Q-tips) and a microfibre cloth.
- A cross-head screwdriver for panels and screwed-in filters.
Gaming PC cleaning: dust off your PC step by step
Step 1: the outside. Dust off the panels and ventilation grilles with the microfibre cloth. This prevents outside dust from falling back inside during the rest of the process.
Step 2: dust filters. Most cases have them at the front, underneath and sometimes on top, often magnetic. Remove them, tap them, and blow them out. If they’re very dirty, rinse them with water and let them dry completely before putting them back.
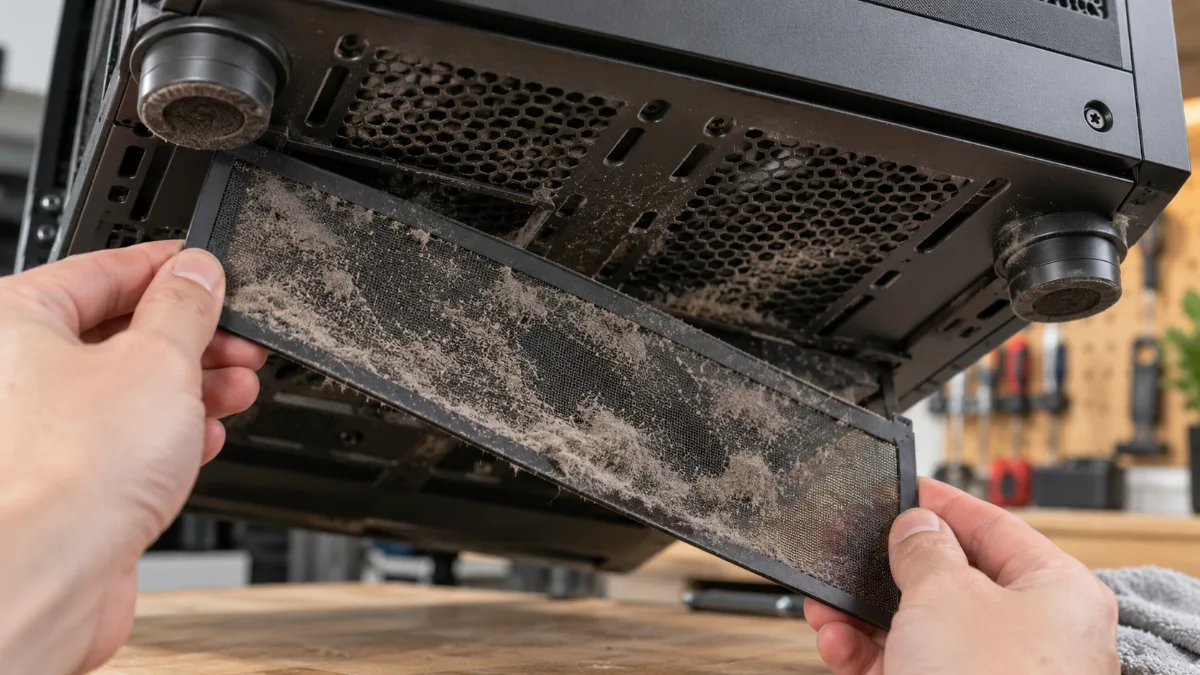
A clogged filter like this is enough to make temperatures rise.
Step 3: the inside. Open the side panel and lay the PC flat. Blow with short bursts, aiming first at the fans, then the radiators and the corners of the case. Always hold a fan still with your finger before blowing it: if it spins too fast under compressed air, its bearings can get damaged.
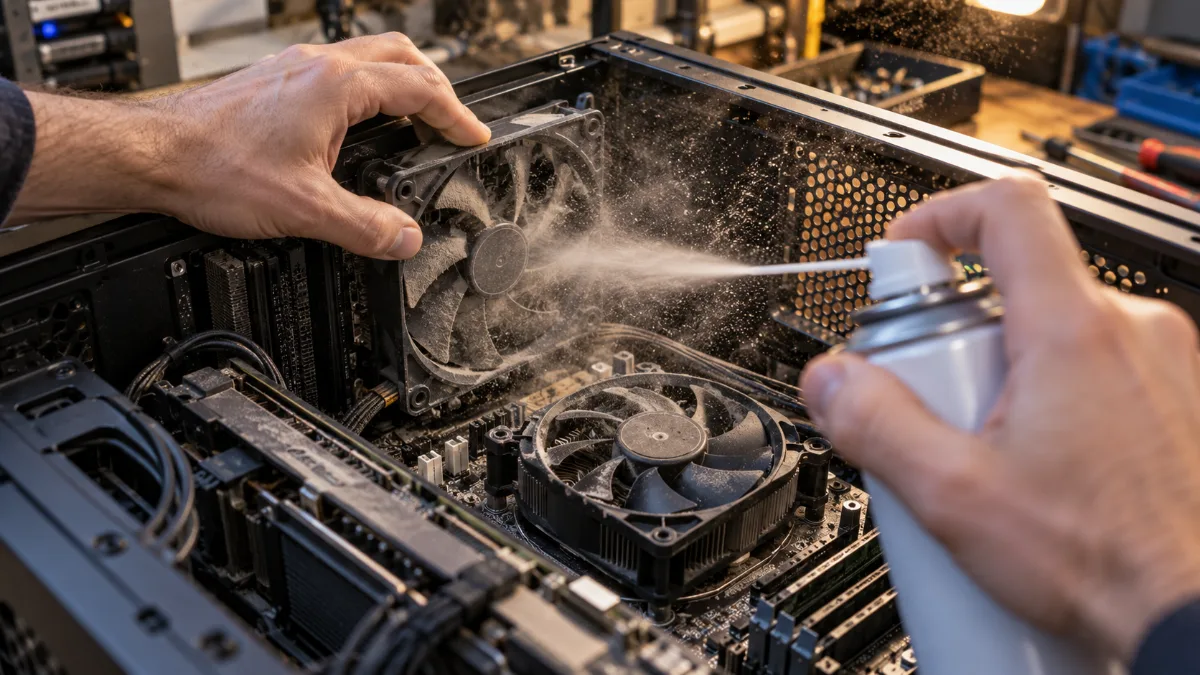
Always hold the fan still before blowing it.
Step 4: the radiators. On the CPU air cooler, blow between the fins in the direction of the airflow, from front to back, to push the dust out of the case. On the graphics card, blow through the fans and fins without insisting right up against the components. Finish off with the brush on stubborn deposits.
Step 5: the finishing touches. Wipe the bottom of the case, put the filters back, check that all cables are properly clipped in, close everything up and plug it back in. Take the opportunity to check temperatures while gaming: they should be lower.
The FrenchHardware channel shows the whole method in video form:
Clean an AIO watercooler
An all-in-one (AIO) watercooling unit is a sealed circuit: it doesn’t refill and it never opens. Only its radiator gets clogged. Blow through its fins using the fans, or remove just the fans for more thorough cleaning, then reinstall them in the same direction. Don’t touch either the tubes or the block mounted on the processor. If the processor temperatures remain high despite a clean radiator, changing the thermal paste may help, but you’ll then need to remove the block: do this only if you’re comfortable doing so.
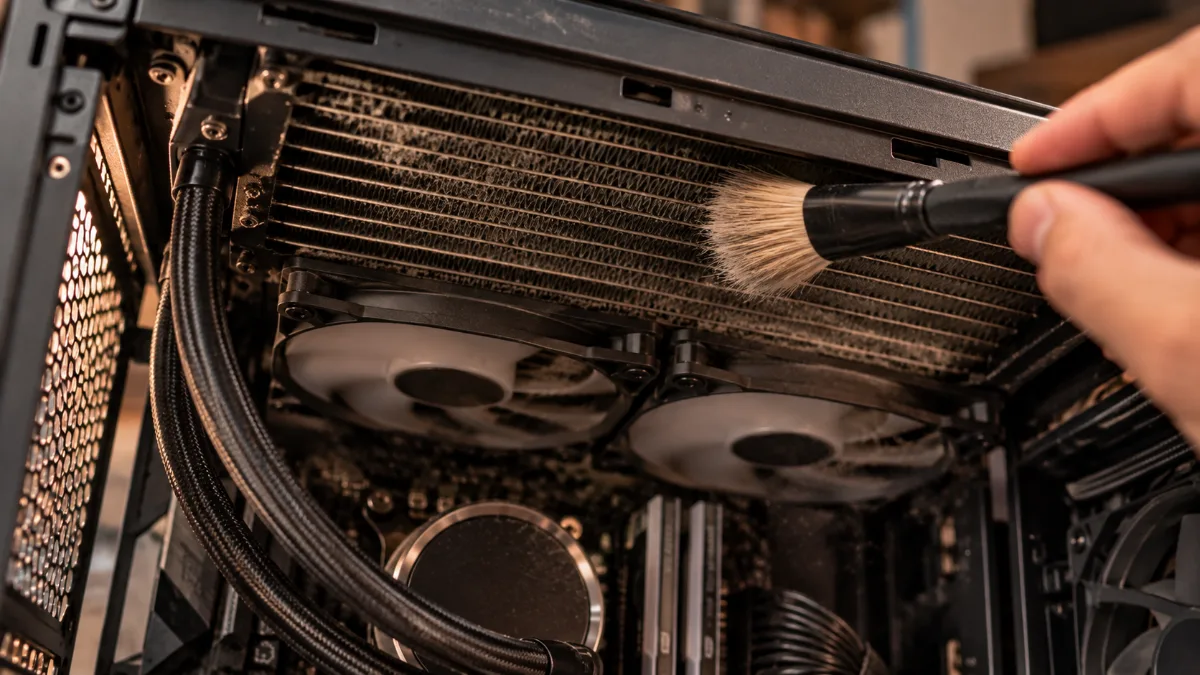
On an AIO, only the radiator gets cleaned: a brush and compressed air between the fins.
Clean a laptop PC
A laptop is more delicate because everything is compact. Turn it off, unplug the charger, then blow in short bursts through the ventilation grilles, especially at the outlet for hot air. Open the casing only if you know how to do it and if that won’t void your warranty. A laptop that keeps running the fans loudly all the time, even when it’s clean, deserves a visit from a professional.
When should you clean your PC?
| Situation | Recommended frequency |
|---|---|
| Normal use, clean room | Every 3 to 4 months |
| Intensive use, visible dust on the filters | Every 6 to 8 weeks |
| Pets, PC on the floor, dusty room | Monthly for the filters |
The best indicator is still your PC: if it becomes noisier or if temperatures start to rise, it’s time. Also think about software maintenance: update your drivers, delete temporary files and remove unnecessary files.
What you must never do: use a regular vacuum cleaner in contact with the components (static electricity), let the fans spin freely under compressed air, turn the air can upside down (the gelled liquid may escape), get the electronics wet, or clean a PC while it’s powered on.
If you’d rather go with a new machine, here are two well-cooled configurations with watercooling:
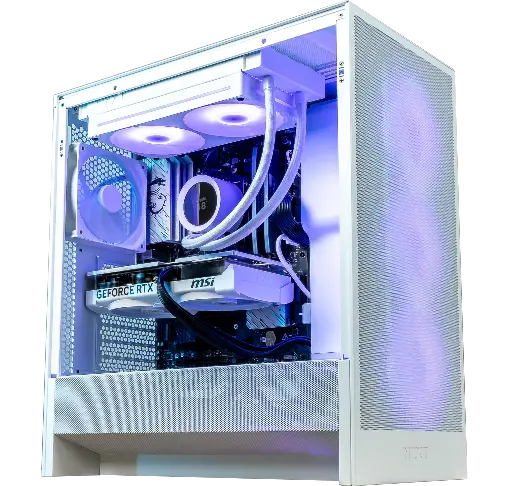
Novara PC GeForce RTX 5070 12GB
Airflow case and 240 mm watercooling: the RTX 5070 12 GB and Ryzen 5 7500X3D stay cool for 1440p.
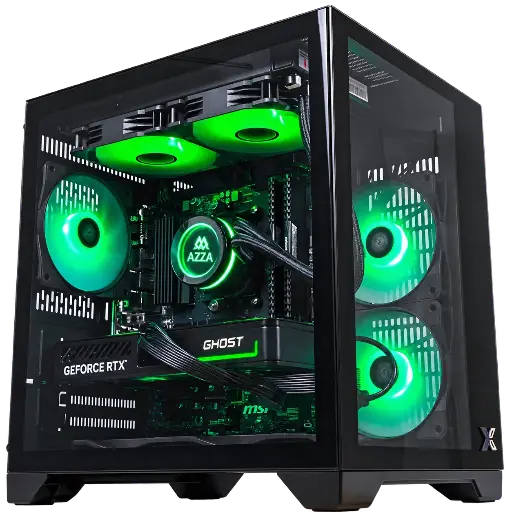
CUBI PC GeForce RTX 5060 8GB
Compact, with 240 mm watercooling, an RTX 5060 and Ryzen 7 5700X for Full HD.
FAQ
Can you clean your PC with a vacuum cleaner?
Not in contact with the components: the nozzle creates static electricity. A vacuum cleaner can be used from a distance to pick up the dust that has been blown out, or for filters after removing them from the case.
What should you use to clean the inside of your PC?
A can of dry air or an electric duster, a soft brush and a microfibre cloth are enough. Avoid any liquid on the components.
Should you change the thermal paste when cleaning?
Not systematically. Only if temperatures stay high once the PC has been dusted, or after several years.
Does cleaning your PC improve performance?
Yes, if dust was heating the components to the point that they slowed down: you then get stable FPS and a quieter PC.
