 Your PC in instalments (up to 12x)
By the FlowUP team, PC gaming system builder in Genappe (Belgium) · Updated 28 September 2026
To start a computer for the first time: connect the monitor to the graphics card, plug in the keyboard, mouse and power cable, switch the power supply’s switch on the back to “I”, then briefly press the power button. Windows then launches a setup assistant: language, keyboard, network, account. You then just need to install the updates, drivers and your software. Here are every step in detail, with the pitfalls to avoid.
In brief
- Place the PC in a well-ventilated area, near a power outlet and, if possible, an Ethernet connection.
- Connect the monitor to the graphics card, not to the motherboard.
- Switch on the power supply (switch at the back), then press the power button.
- Follow the Windows assistant, then run Windows Update and install the graphics card drivers.
- Windows Defender is enough as an antivirus: there’s no need to install another one.
Starting up a computer for the very first time is a decisive step in a PC’s life. Although it may seem simple, this initial phase determines your machine’s performance, security and user-friendliness in the long run. A poor start-up can lead to technical issues or an incorrect configuration that will be difficult to fix later.
This guide walks you through your first start-up step by step, whether you’re a complete beginner or an intermediate user.
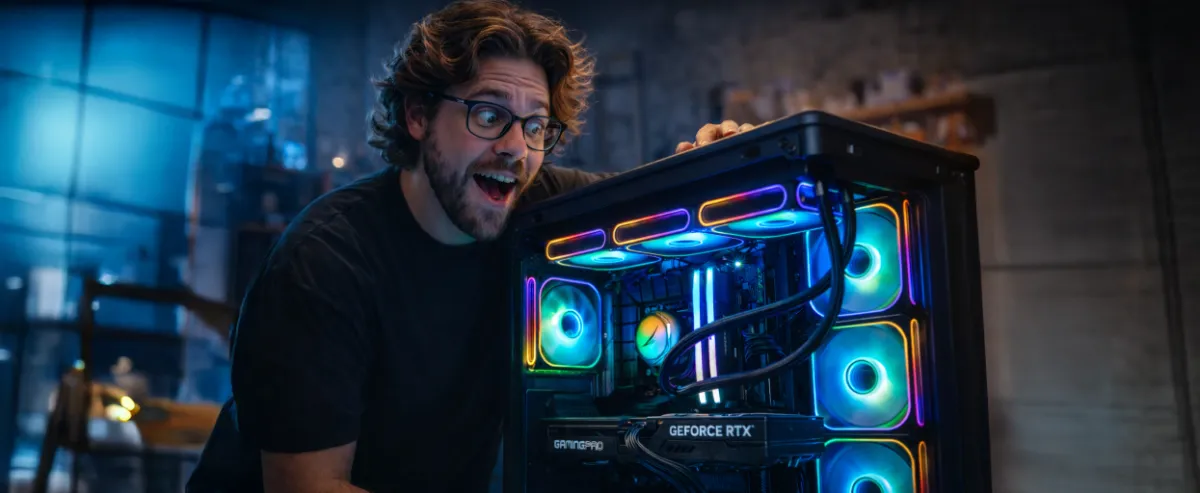
By following these best practices, you’ll get the most out of your new computer from the very first minutes.
1. Prepare your environment
Before you even turn on your computer, it’s essential to properly prepare your work environment. Start by choosing a clean, well-ventilated place with easy access to a power socket.
Make sure you have a stable Internet connection, either via Wi‑Fi or using an Ethernet cable. This connection will be essential to enable certain operating system features and carry out the first updates.
Next, unpack your FlowUP PC 👇
Then connect the essential peripherals: monitor (if you have a desktop PC), keyboard, mouse, and possibly a printer or an external hard drive. For laptops, check that the battery is sufficiently charged, or plug the device directly into the mains.
A well-prepared environment ensures a smooth start-up without interruptions.
2. Turn on the computer for the first time
Once everything is connected, switch the power supply switch on the back to “I”, then press the power button once briefly. On a tower, it’s on the front panel or on top of the case; on a laptop, it’s above the keyboard or on the side. Wait a few seconds afterwards.
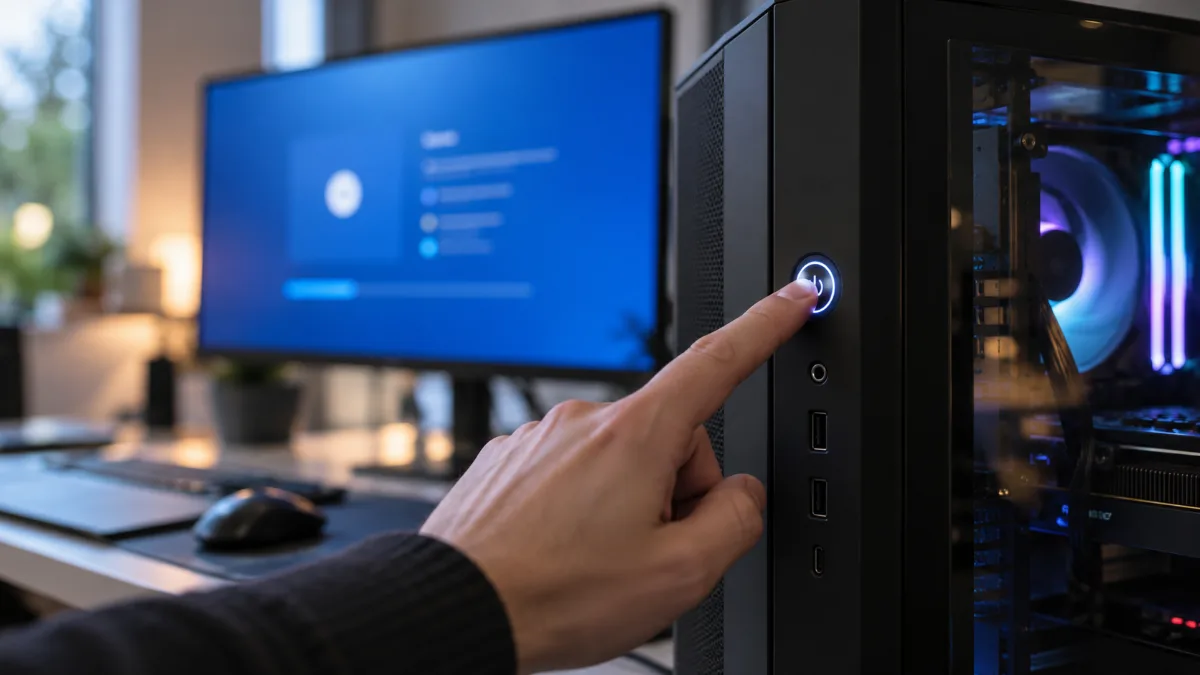
The manufacturer’s logo should appear on the screen shortly, followed by the operating system loading (often Windows). If nothing appears or the device doesn’t seem to respond, check that the cables are connected correctly and that the power supply is working.
It’s also possible that the monitor isn’t switched on, that it’s connected to the motherboard instead of the graphics card, or that the wrong input source is selected. Our guide for a PC with no display covers all the checks.
If you don’t have a pre-installed operating system, please refer to the block below 👇
Initial Windows setup (optional)
The first start-up is often a little longer than the subsequent ones, because the computer will prepare certain files and check the hardware. Once the start-up phase is complete, you’ll be prompted to begin system setup.
When the operating system starts for the first time, it guides you through a setup assistant. This step is crucial because it defines your machine’s basic settings.
You’ll need to start by choosing the system language, the keyboard format and your geographical region. These elements affect not only the interface language, but also the formats for date, time and currency.
Next, you’ll set your time zone, which will allow the computer to synchronise the time correctly, essential for updates and security. Make sure you select these options from the start, as some may be more complicated to change later.
3. Internet connection
An Internet connection is a key step in your first start-up. It allows the operating system to check for the latest updates, activate your copy of Windows (or another OS), and synchronise certain services such as the cloud or user accounts.
You have two options: connect via Wi‑Fi or via a Ethernet cable. Wi‑Fi is more convenient, especially for laptops, but an Ethernet cable provides a more stable and faster connection, which is ideal during the update download phases.
If you don’t see your network in the list or if the connection fails, make sure the router is working correctly and that you’re within range of the signal. In some cases, restarting the modem or forgetting the network and reconnecting can be enough to resolve the issue.
👉It’s possible that your PC doesn’t have built-in Wi‑Fi & Bluetooth. To check, visit the motherboard manufacturer’s website. If you can’t find the reference, you can launch "CPU-Z" directly from the Windows search bar.
👉If, in any case, you want to connect to Wi‑Fi wirelessly, you can choose a Wi‑Fi dongle or a Wi‑Fi card to install directly in the PC.
4. Installation of updates
Once the system is set up, the computer update is a crucial step. Even if the device is new, it’s likely that the operating system isn’t up to date. Microsoft and other publishers regularly release security fixes, stability improvements, and new features.
As soon as you have access to the desktop, open the settings menu, then go to the section dedicated to updates (for example: Settings > Windows Update). Click “Check for updates” and install everything that’s offered.
Some updates require a restart of the computer to be applied correctly. Don’t interrupt the process, and make sure to leave the PC plugged into the mains for the entire duration.
5. Installation of drivers and peripherals
Drivers (or drivers) allow your operating system to recognise and use your computer’s components correctly: graphics card, sound card, printer, etc. Although Windows installs most of them automatically, it’s essential to check manually that everything is recognised properly.
To do this, open the Device Manager (right-click the Start menu > Device Manager) and make sure that no item is marked with a yellow triangle. If so, go to the manufacturer’s official website (HP, Lenovo, ASUS, Dell, etc.) to download the latest driver.
Don’t forget to install drivers for your external devices too, such as your printer, webcam, or Bluetooth headphones. This will ensure your hardware works optimally.
👉 To install the drivers for your graphics card, use the NVIDIA app (Game Ready drivers) for NVIDIA, or Adrenalin for AMD.
6. Install essential software
Once your system is up to date, it’s time to install the essential software for smooth, secure use of your computer.
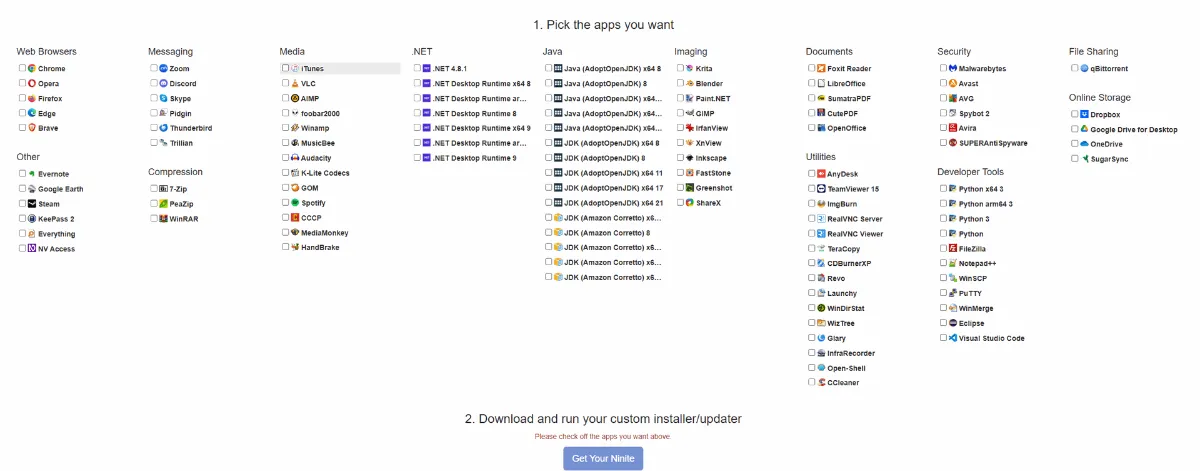
For this step, we recommend that you install ninite. You’ll find all sorts of software in their latest versions, which you’ll probably need to download, and you can install with one click.
👉 As for Anti-virus protection, nothing beats Windows Defender, which is already built into Windows and is free. Other software could slow down your PC.
7. Tips for getting the most out of your computer
Here are a few practical tips to better master your computer from the very first days:
- Use keyboard shortcuts: Ctrl+C (copy), Ctrl+V (paste), Ctrl+Z (undo), Ctrl+S (save), Alt+Tab (switch window), Windows+L (lock).
- Personalise the look and feel: change the wallpaper, the theme colours, or enable dark mode for greater visual comfort.
- Clean your system regularly: remove temporary files with the Disk Cleanup tool or via the Windows Storage Assistant (Settings > System > Storage). Our guides on files you can delete and temporary files show you what you can delete safely.
- Explore the STEAM shop to discover as many games as possible and make the most of your PC.
Step by step, you’ll soon get your bearings and use your computer with more confidence.
8. Enjoy it in complete peace of mind
The first startup of your computer is a crucial step that deserves your full attention.
By following the steps in this guide, from initial setup to updates, including security and organisation, you lay solid foundations for smooth, stable, and secure use of your machine.
A good start means fewer problems in the future and an optimal user experience.
👉 Take the time to do things properly today so you can get the most out of your PC tomorrow.
Trouble when starting your FlowUP PC for the first time? Black screen, error message, doubt about the connection? Contact our team via the support page. And if you see a blue screen later, our guide with the Windows blue screen you find the cause.
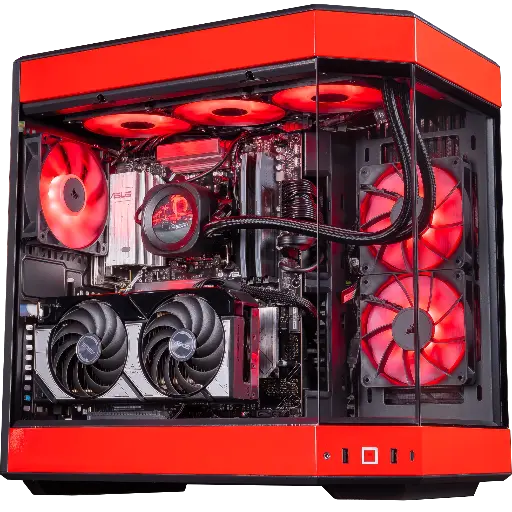
Rivals PC GeForce RTX 5070
Ryzen 7 9800X3D, RTX 5070, 32 GB DDR5 and 1 TB SSD: a gaming PC ready to play straight after its first start.
Frequently asked questions
In our “Frequently Asked Questions” section, you’ll find all the essential information about our services, ordering your gaming PC, payment options, delivery, and much more.
No, it’s not mandatory.
The trial version of Windows isn’t time-limited and lets you use all the essential functions without restrictions. The only notable difference is the presence of a “Activate Windows” watermark in the bottom-right corner of the screen.
So it’s entirely possible to use your computer without activating Windows, at least at first.
In theory, no, but in practice some updates can cause problems.
It can happen that a Windows update or a driver substantially slows down the system or causes bugs.
This can happen after a graphics driver update.
In that case, it’s better to roll back to a previous version and wait until an official patch is released.
The best choice remains Windows Defender, which is built in by default on Windows 10 and 11.
It provides a very good level of protection, native integration with the system, and minimal resource usage.
So there’s no need to install a third-party antivirus if you adopt good browsing practices and carry out your updates regularly.
You can check this via the Device Manager: if there are no yellow triangles or error messages, everything is working correctly.
To go further, use tools such as Windows Update or visit the manufacturers’ websites (Intel, AMD, NVIDIA, etc.) to download the latest available drivers.
A restart loop can be caused by a bad update, an incompatible driver, or a hardware problem.
Try starting in Safe Mode to uninstall the latest changes. If that isn’t enough, use Windows’ built-in repair tools or perform a System Restore.
As a last resort, a full system reset may be necessary.
