 Your PC in instalments (up to 12x)
By the FlowUP team, gaming PC builder in Genappe (Belgium) · Updated 29 September 2026
In short: on a new PC, do it in this order: 1) check the connections (monitor on the graphics card, power supply on ON), 2) let the first boot complete, even if it takes a long time or restarts once, 3) check in the BIOS that the CPU, RAM and SSD are detected, 4) install or finish setting up Windows, 5) run Windows Update, then install the graphics card drivers, 6) enable the RAM XMP or EXPO profile. Only start gaming after these steps.
New PC: what should you do first?
You’ve just built your PC or received a brand-new one. Everything is connected, the power button is there, and you’re itching to launch a game. Still, take twenty minutes to do things in the right order: that’s what prevents a black screen, RAM running at half speed, or the display getting stuck at 60 Hz while it’s supposed to show 165.
This guide gets straight to the point, step by step, from the very first power-on to the settings that genuinely improve performance.
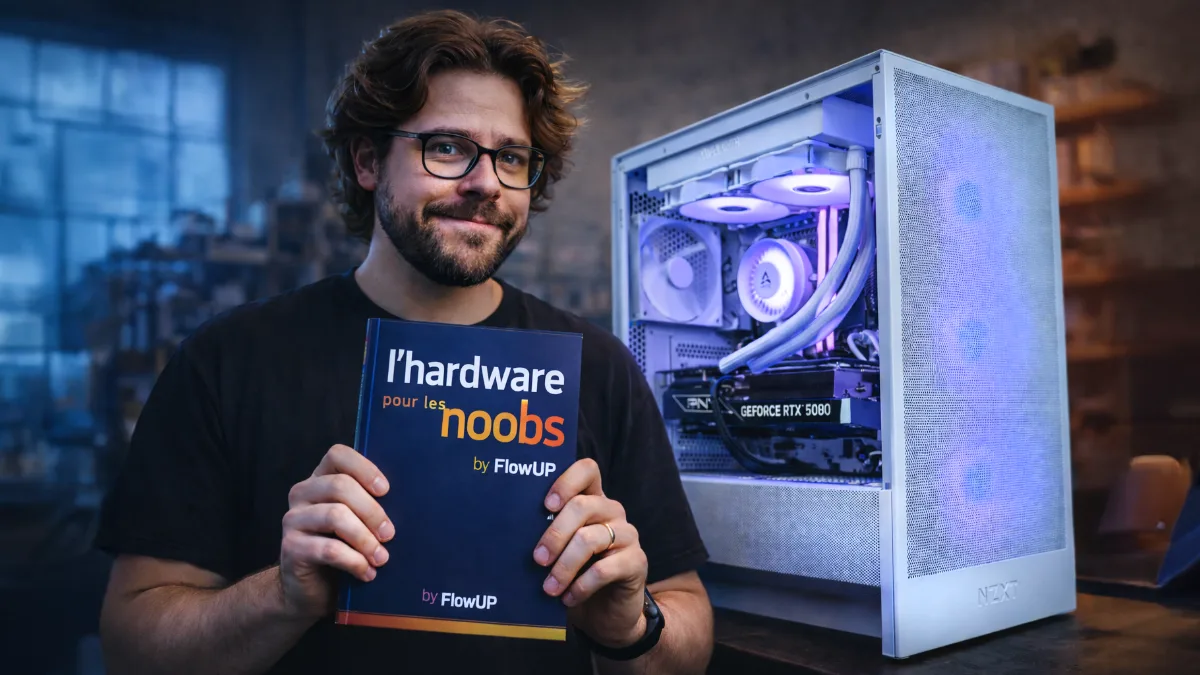
A well-managed first boot prevents most unpleasant surprises.
First-boot checklist
| Step | Action | What to do | Indicative time |
|---|---|---|---|
| 1 | Check the connections | Monitor on the graphics card, mains power cable, power-supply switch set to I | 2 min |
| 2 | First power-on | Let the PC initialise the memory, without switching it off | 1 to 3 min |
| 3 | Check in the BIOS | CPU, amount of RAM, SSD, idle temperature | 3 min |
| 4 | Windows | Clean install or setup assistant | 15 to 30 min |
| 5 | Updates and drivers | Windows Update, graphics card driver, chipset | 15 min |
| 6 | XMP / EXPO | Enable the RAM profile in the BIOS | 2 min |
| 7 | Fine-tuning settings | Screen frequency, restore point | 5 min |
Before turning it on: the essential checks
Most “PCs that don’t work” on first boot have a very simple cause. Before pressing the button, check:
- that the monitor is connected to the graphics card, not to the motherboard’s video outputs: that’s the number one mistake;
- that the power cable is fully plugged in on both sides;
- that the power-supply switch, at the back of the PC, is set to I (not O);
- that the keyboard and mouse are plugged in;
- that the monitor is on and set to the correct input (HDMI or DisplayPort).
Also think about the placement: a PC pressed against a wall or set on carpet heats up more. We explain this in where to put your gaming PC.
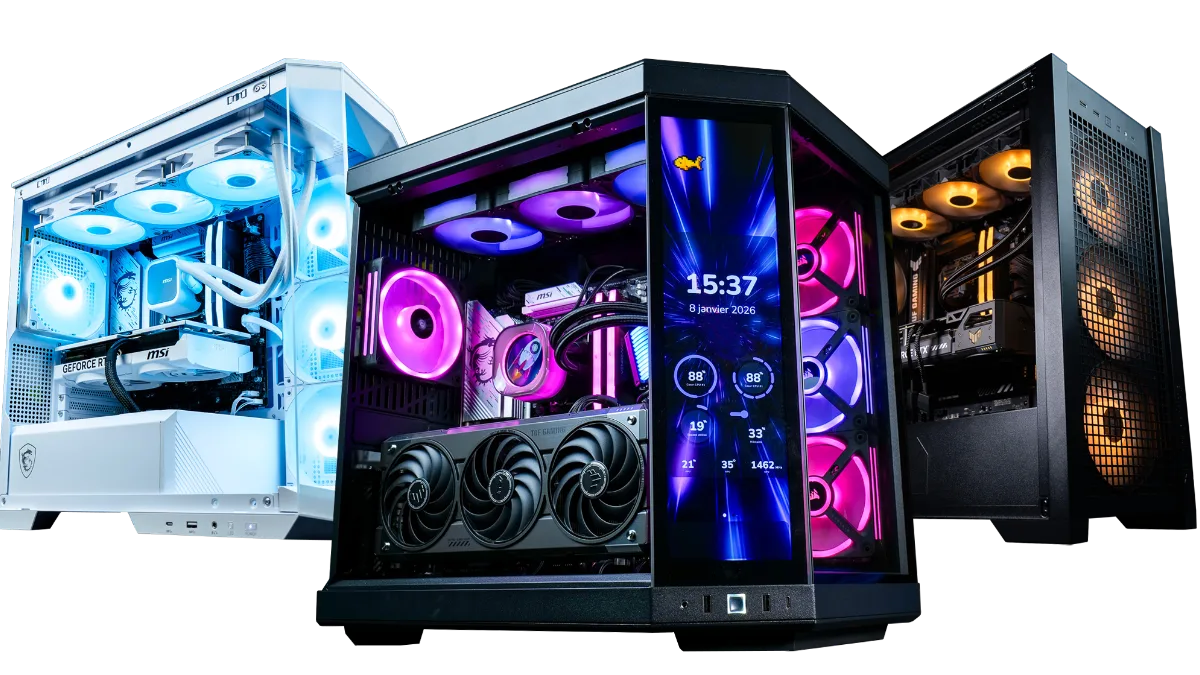
Monitor connected to the graphics card: the check that fixes half the black screens.
First power-on: what’s normal
A PC’s very first boot is never instant. The motherboard tests and trains the memory (“memory training”), especially with recent DDR5. So you might see, without it necessarily being a problem:
- a noticeably longer boot than usual, sometimes more than a minute;
- One or two automatic restarts
- fans that ramp up and then calm down;
- a black screen for several dozen seconds.
As long as the PC doesn’t shut off abruptly, don’t touch anything and let it do its work.
No display on the screen: how to react
If the screen stays black after one or two minutes:
- check again that the video cable is connected to the graphics card;
- Manually change the monitor’s input source
- try another cable or another port (DisplayPort instead of HDMI, for example);
- wait another minute during the very first boot.
If nothing at all turns on (no fans, no LEDs), move on to our guide my computer won’t start.
The BIOS: what to check on the first boot
Press Del (Delete) or F2 as soon as it powers on to enter the BIOS (UEFI), depending on your motherboard brand. It’s not mandatory, but it’s the best way to make sure everything is detected correctly:
- the CPU model;
- the total amount of RAM (32 GB installed should show 32 GB);
- the main SSD;
- the CPU temperature at idle, which should stay reasonable.
If everything is detected, don’t change anything else for now.
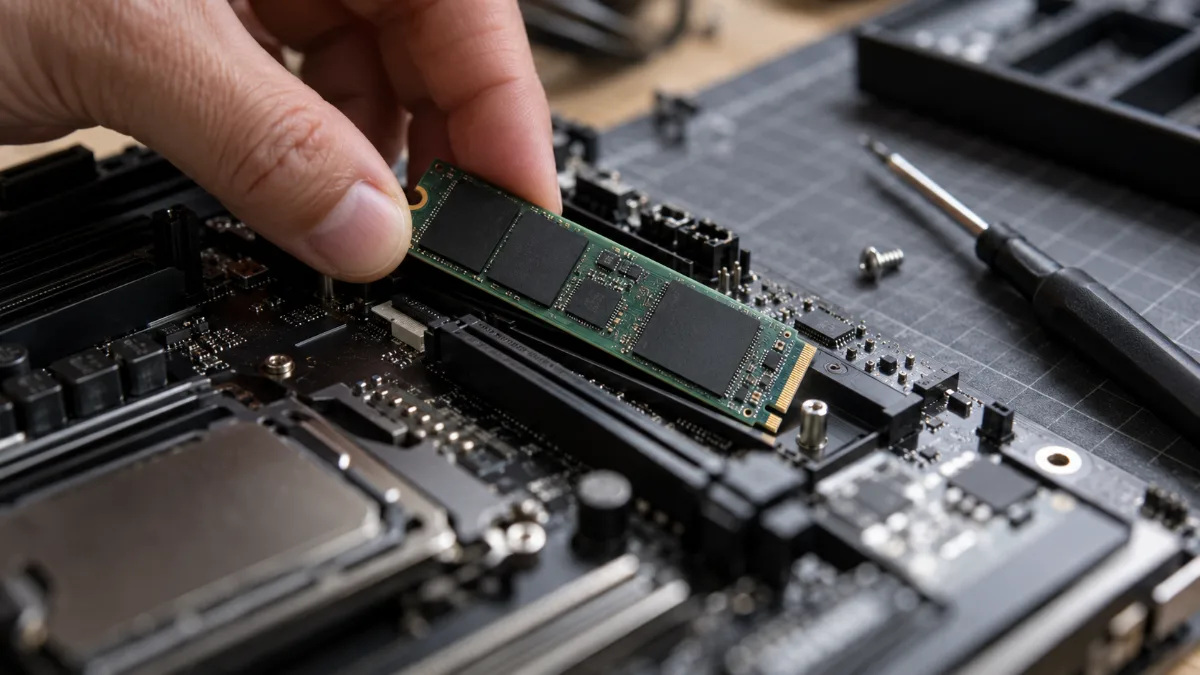
The main SSD should appear in the BIOS as soon as you power on for the first time.
Install Windows properly
If Windows isn’t installed
- Create an installation USB stick using the official Microsoft tool (Media Creation Tool) on another PC.
- Boot the new PC with the USB stick plugged in.
- Choose the main SSD and let Windows create the partitions.
If Windows is already installed
- Follow the setup assistant (language, keyboard, network).
- Sign in with a Microsoft account or a local account.
- On a FlowUP PC, Windows 11 Pro is preinstalled in a trial version: read what “trial version” means and how to activate it.
Avoid modified versions of Windows and dubious activation tools: they’re a classic source of malware.
After installation: updates and drivers
Once you’re at the desktop, don’t launch all your games right away. Start by:
- Windows Update, until there’s nothing left to install (a few restarts are normal);
- the graphics card driver, downloaded from NVIDIA or AMD’s website (or via the NVIDIA / AMD Software app);
- the chipset drivers for the motherboard, if Windows hasn’t installed them;
- screen refresh rate: in Settings, System, Display, Advanced display settings, choose the maximum refresh rate (144, 165 or 240 Hz). By default, Windows often stays at 60 Hz.
To check that a brand-new PC runs properly, the FrenchHardware channel outlines the tests you should do as soon as you receive it:
FrenchHardware, “How to test your new gaming PC”.
XMP / EXPO: enable RAM speed
By default, the memory runs at a safe frequency, well below what’s listed on its spec sheet. The XMP profile (Intel) or EXPO profile (AMD) can be enabled in one click in the BIOS, restoring its rated speed.
- Enable it only after a first stable startup
- Save, restart, and check in Task Manager (Performance tab, Memory) that the displayed speed has increased.
- If the PC won’t restart, the motherboard generally reverts on its own to the default settings after a few attempts.
After a BIOS update, check that the profile is still active: updates often reset the default settings.
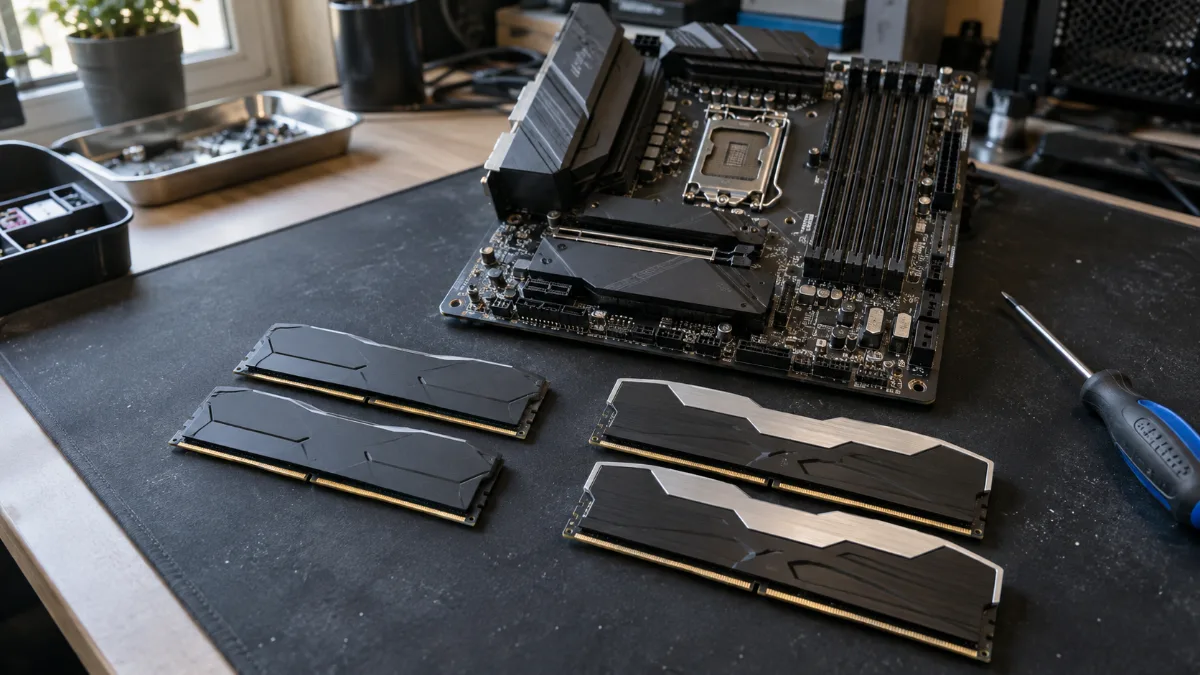
Without XMP or EXPO, the RAM runs well below its advertised speed.
What not to do at first boot
- Unplug or replug PC components while the PC is on.
- Changing BIOS settings “at random”
- Force repeated shutdowns during the first boot.
- Install fifteen software programs at once before the drivers.
- Overclocking on day one
A stable PC is one you upgrade progressively. Once everything is in place, you can test your PC’s performance to check that everything is running as expected, and monitor temperatures if the PC gets hot (PC overheating).
Gaming PCs ready to start
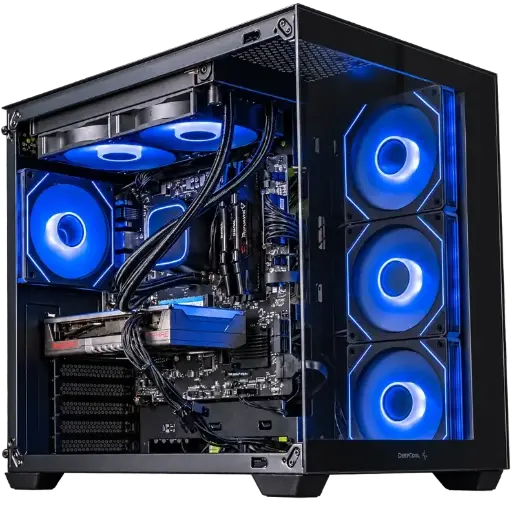
Spike PC, Radeon RX 9060 XT
Ryzen 7 5700X, Radeon RX 9060 XT and 16 GB of DDR4: to play in 1080p with high settings.
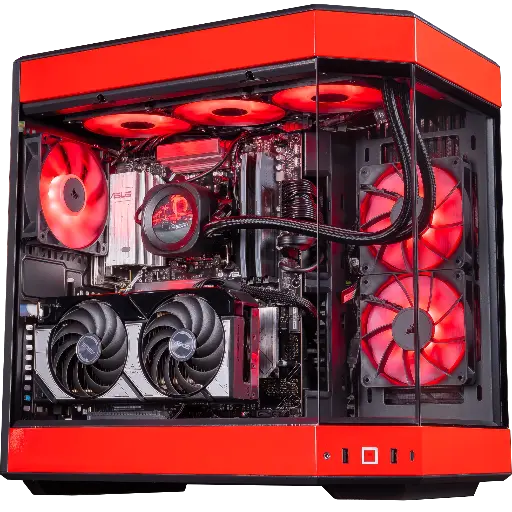
Rivals PC, GeForce RTX 5070
RTX 5070, Ryzen 7 9800X3D and 32 GB of DDR5: built for high refresh-rate 1440p.
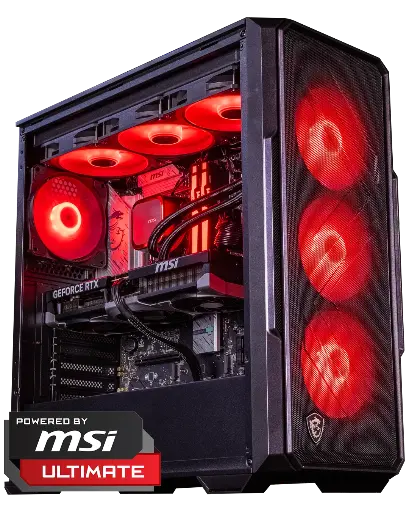
Abyssin PC, GeForce RTX 5070 Ti
RTX 5070 Ti 16 GB and Core Ultra 5 245KF: for demanding 1440p.
Playing with a controller? Our guide connecting a PS5 controller to a PC covers USB, Bluetooth and Steam settings.
FAQ: first boot of a PC
New PC: what should you do first?
Check the connections, let the first boot complete, check the BIOS, install or configure Windows, run Windows Update, then install the graphics card driver, and finally enable the RAM’s XMP or EXPO profile.
Why is the first boot so long?
The motherboard tests and calibrates the memory during the first power-on. With DDR5, it can take more than a minute and trigger one or two restarts. This is normal.
How do I start a PC for the first time?
Connect the monitor to the graphics card, set the power supply switch to I, press the case power button, and wait without touching anything until the logo or the BIOS appears.
Should you update the BIOS on a new PC?
Not always. If the PC is stable and everything is recognised, there’s no rush. An update is only justified to fix a specific issue or to support a new processor.
My monitor stays at 60 Hz, is that normal?
Yes, Windows often chooses 60 Hz by default. Set the maximum refresh rate in the advanced display settings, using a DisplayPort or HDMI cable that supports it.
