
By the FlowUP team, gaming PC builder in Genappe (Belgium) · Updated 29 September 2026
In brief: to stabilise an Intel Core processor from 13th or 14th generation, install your motherboard’s latest BIOS, which includes microcode 0x12F or newer. The method: download the BIOS from the manufacturer’s website, copy it to a FAT32-formatted USB stick, then run the BIOS-integrated update tool (M-Flash on MSI, EZ Flash on ASUS, Q-Flash on Gigabyte, Instant Flash on ASRock). Allow ten minutes, and never cut power during the operation.
Why update the BIOS of a 13th or 14th generation Intel CPU?
The Intel Core processors of the 13th and 14th generation for desktop PCs (Raptor Lake) suffered from a problem caused by excessively high voltage, which leads to crashes and, over time, to degradation of the processor. Intel fixed this through updates to the microcode, the processor’s internal “operating instructions”. This microcode doesn’t arrive via Windows: it comes with the motherboard BIOS.
We detail the origin of the problem and the timeline of the fixes in instability of Intel 13th and 14th generation. Now for the practical part.
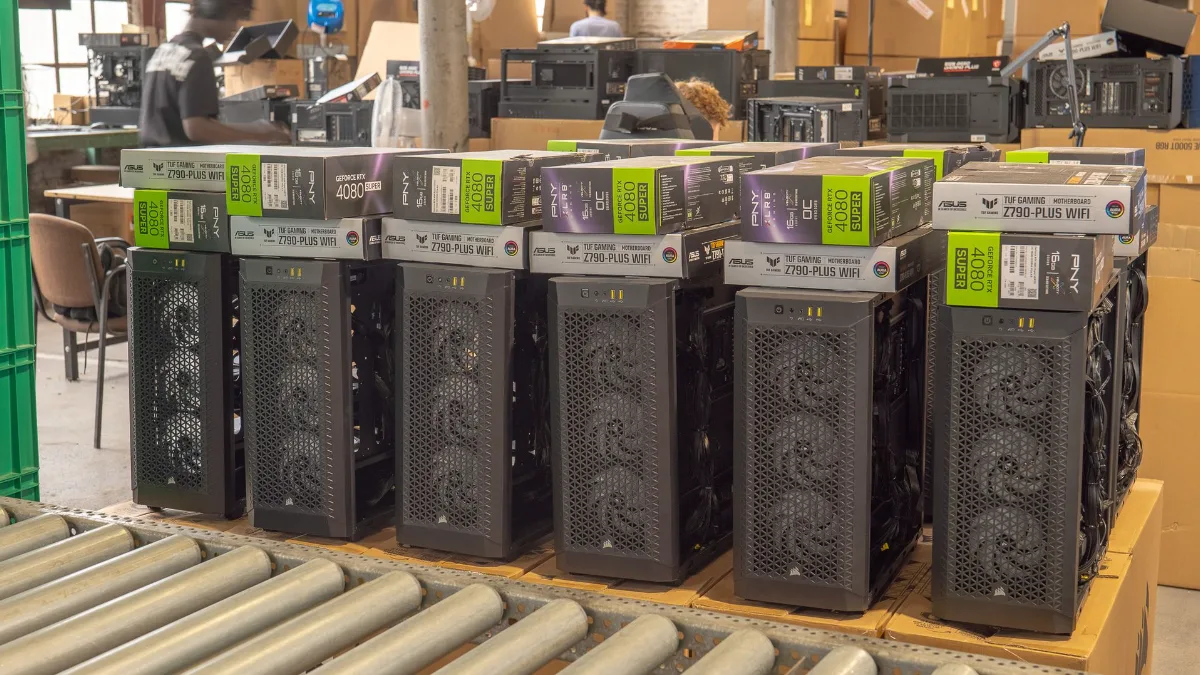
In our workshop, before the PCs are shipped.
"Your system appears to be using an unpatched Intel 13th or 14th generation processor"
Some games and applications now show this message on launch when they detect a 13th or 14th generation processor without the corrected microcode. It simply means that your BIOS is too old. The game asks you to update it (“please upgrade your BIOS”): follow the method below and the message will disappear.
Step 1: check your motherboard and microcode
- Motherboard model: in Windows, type “System Information” in the search; the lines “Baseboard manufacturer” and “Baseboard product” give the exact brand and model.
- Microcode version: the free software HWiNFO shows it in the processor section. If you read 0x12F or a newer version, you’re already up to date.
Step 2: download the correct BIOS
| Brand | Where to download | Tool built into the BIOS |
|---|---|---|
| MSI | msi.com, Support section | M-Flash |
| ASUS | asus.com, Download Centre | EZ Flash |
| Gigabyte | gigabyte.com, Support | Q-Flash |
| ASRock | asrock.com, Support | Instant Flash |
Search for the exact model of your motherboard, open the BIOS tab, and take the latest version. In the release notes, look for the mention of microcode 0x12F (or “Intel microcode update”). Never choose a BIOS intended for a different model, even if it’s very close.
Step 3: install the update
- Unzip the downloaded file and copy it to the root of a USB stick formatted in FAT32.
- Plug in the stick, restart, and enter the BIOS using the Delete (Delete) or F2 key.
- Launch the manufacturer’s update tool (M-Flash, EZ Flash, Q-Flash or Instant Flash).
- Select the file on the USB stick and confirm.
- Never cut power and don’t shut down the PC during the operation: the PC restarts by itself, sometimes several times.
- After the update, settings revert to their defaults: re-enable the XMP memory profile if needed, and keep the Intel Default Settings profile.
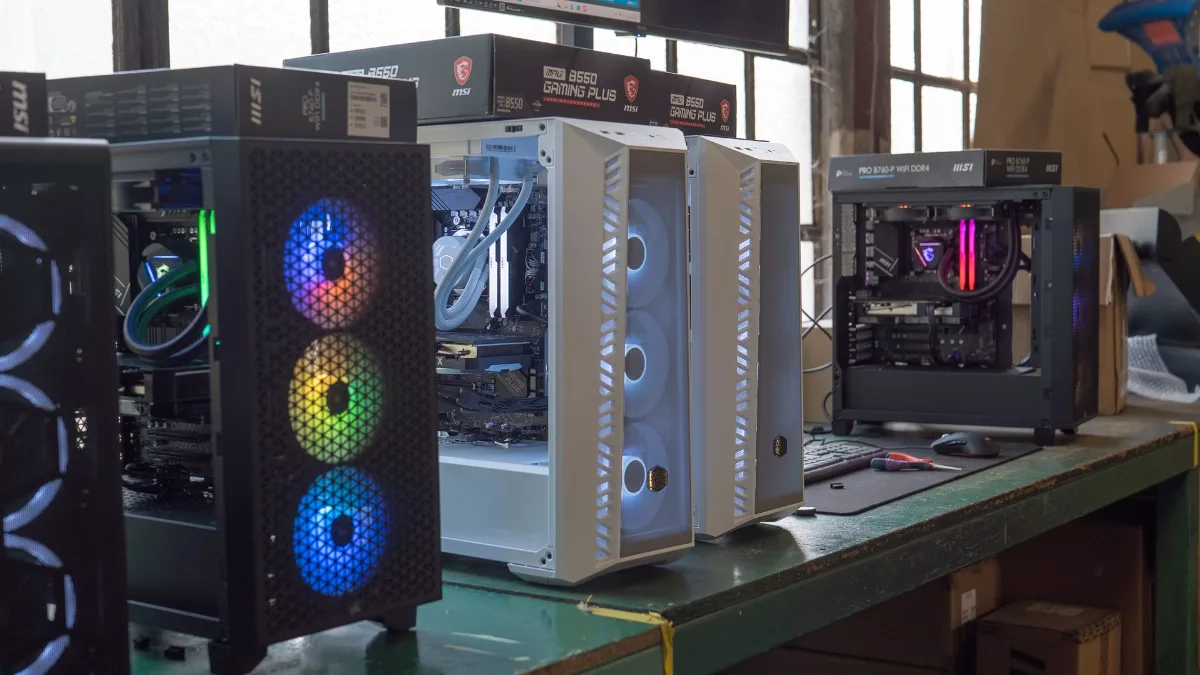
A BIOS update takes about ten minutes, with the power connected.
This video shows the complete process, from verification to the update:
ConCon, “Necessary updates for Intel processors of the 13th and 14th generations”.
Step 4: verify and test
Back in Windows, run HWiNFO again to confirm the new microcode version. Then play normally for a few days. If crashes persist despite an updated BIOS, the processor may already have been damaged: the update protects a healthy processor but doesn’t repair it. Intel has extended the warranty of the affected processors by two years; for a prebuilt PC, contact its seller first. For other causes of crashes, see why does my computer shut down by itself.
And for FlowUP PCs?
Since August 2024, we update the BIOS of PCs equipped with an Intel 13th or 14th generation processor before they are shipped. If your FlowUP PC was delivered earlier, or if a game shows the alert message above, follow this guide or contact our customer service: we’ll help you.
Our recent gaming PCs
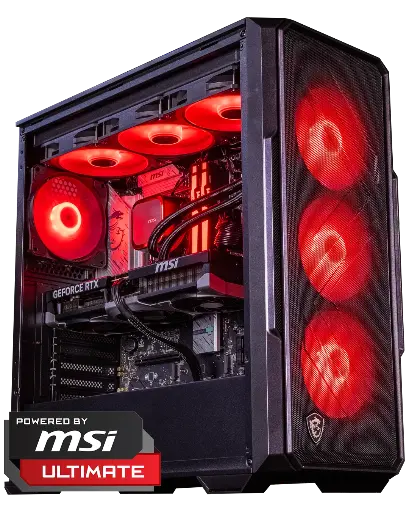
Abyssin PC, Core Ultra 5 245KF
Core Ultra 5 245KF, not affected by this issue, and RTX 5070 Ti 16 GB for demanding 1440p.
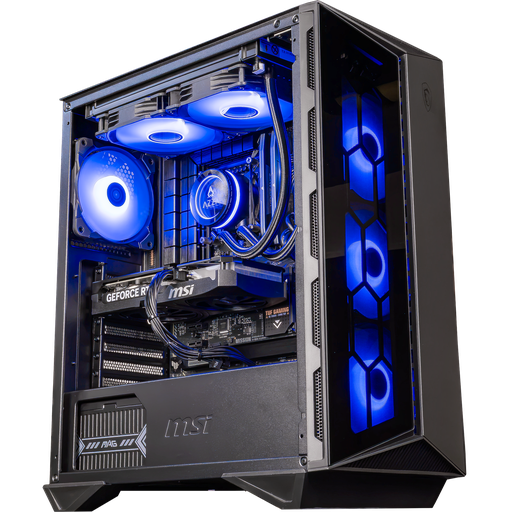
Swift PC, Core i5-14400F
Core i5-14400F and RTX 5060 Ti 16 GB: an Intel 14th-gen for 1080p and 1440p.
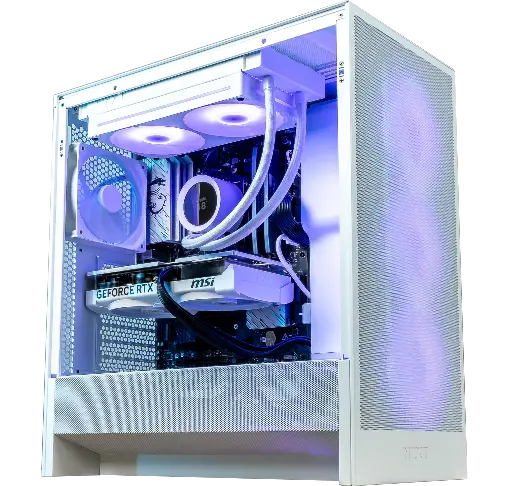
PC Novara GeForce RTX 5070 12GB
Ryzen 5 7500X3D, RTX 5070 12GB, 16GB DDR5 and 1TB M.2 SSD: a plug-and-play setup ready to game straight out of the box.
FAQ: BIOS update for Intel 13th and 14th-gen
Which microcode should you install in 2026?
The 0x12F (May 2025) or a newer version. The 0x12B from 2024 does not cover all cases.
Does the BIOS update reduce performance?
According to Intel, the 0x12F does not cause any measurable performance loss.
Can you update the BIOS from Windows?
Some manufacturers offer this, but the USB-key method from within the BIOS remains the safest.
What should you do if the update is interrupted?
Many recent motherboards have a backup BIOS or a recovery button (BIOS Flashback, Q-Flash Plus). Consult the manual for your motherboard before trying anything.
Is my Intel processor affected?
The Core i5, i7 and i9 from 13th and 14th-gen for desktop PCs, 65 W and above. Laptop processors and the Core Ultra 200S are not affected.
