 Your PC in instalments (up to 12x)
By the FlowUP team, gaming PC builder in Genappe (Belgium) · Updated 2 October 2026
In short: Building a gaming PC takes five steps: check compatibility, install the processor, memory, SSD and cooling onto the motherboard, fit everything into the case with the power supply, connect the graphics card and set up the BIOS, then install Windows and test. Allow half a day for a first build. If you’d rather start playing straight away, a built and checked PC from the workshop saves you that time.
Building your own gaming PC is one of the best moments of the hobby: you open the boxes, you place each part, and the first boot has the taste of victory. It’s also where you can lose an evening over a tiny detail, an overlooked cable or a screen plugged in the wrong place. This article walks you through the assembly step by step, in logical order, with the trap to avoid at each step. And since we assemble PCs all day in Genappe, we also say just as plainly when it’s better to buy a pre-built one.
Build your own gaming PC: what it really takes
You don’t need to be an engineer. A Phillips screwdriver, a bit of calm, and the motherboard manual are usually enough. What takes time isn’t the screwing, it’s the preparation: check everything is compatible before ordering, then understand where each cable connects.
Our view: a first gaming PC build easily takes half a day, and that’s not a problem. You move slowly, reread the instructions, and photograph each connection before closing everything up. Builds that go wrong are almost always the ones you did too quickly. If you’re still unsure about the idea, our comparison of building your own PC and buying a pre-built one lays the whole debate out clearly.
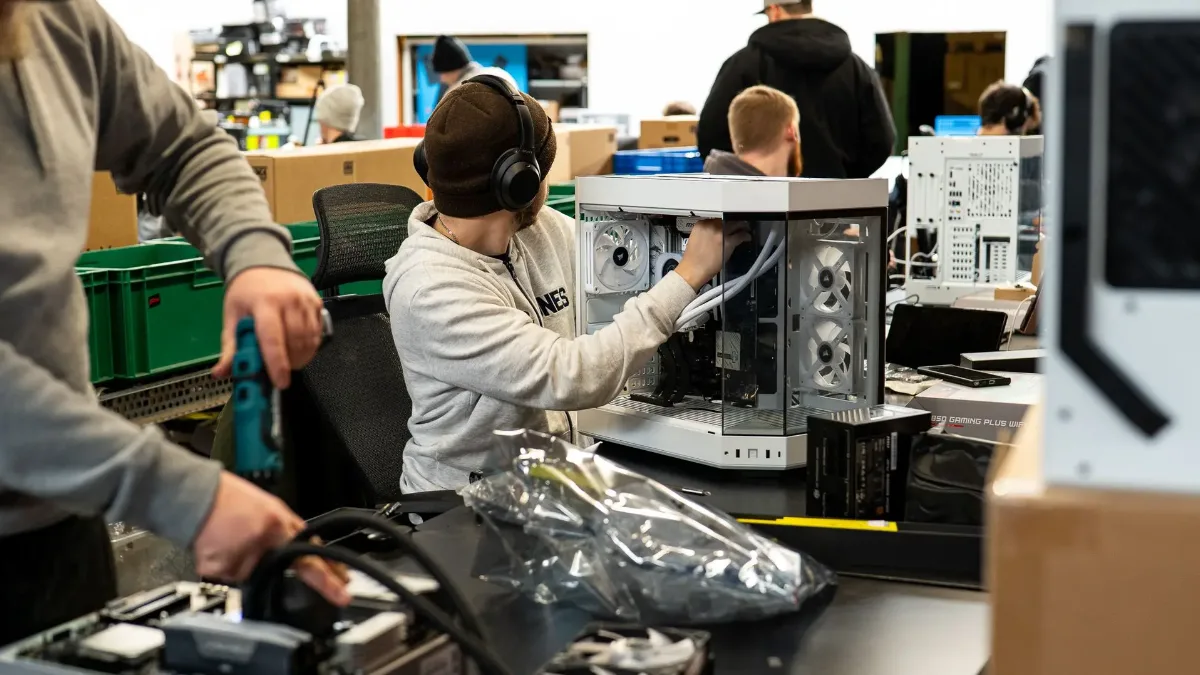
An assembly is done part by part, without rushing.
Step 1: choose compatible components
Before buying anything: four checks. The socket first: the processor and the motherboard must use the same one, e.g. AM5 for recent Ryzen CPUs. Then memory: an AM5 motherboard only accepts DDR5. The case: it states the maximum graphics card length and the height of the supported heatsink. And finally the power supply, sized for the graphics card.
For this last point, the simplest thing is to start with the manufacturer’s recommendation for the card. Here is NVIDIA’s recommendation for three RTX 50 series cards that we fit in our PCs.
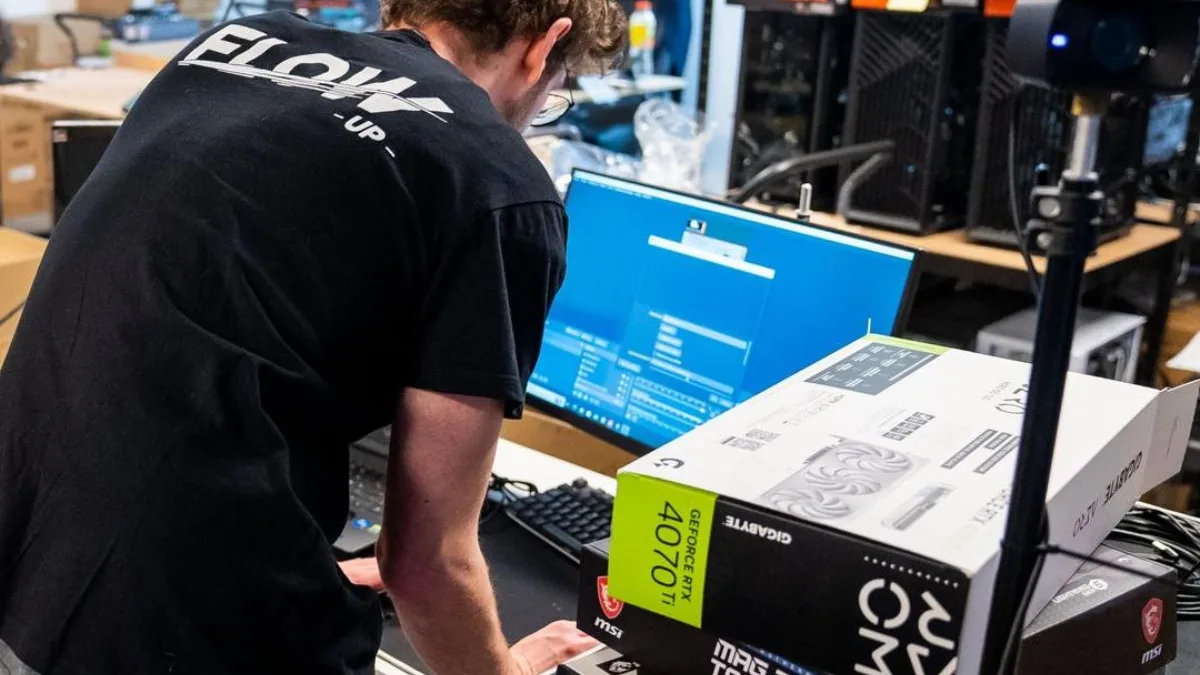
In the workshop, compatibility is checked before a single screwdriver comes out.
| Graphics card | Video memory | Recommended system power supply | Card power supply |
|---|---|---|---|
| GeForce RTX 5060 | 8 GB GDDR7 | 550 W | 1 x 8-pin connector |
| GeForce RTX 5070 | 12 GB GDDR7 | 650 W | 2 x 8-pin connectors |
| GeForce RTX 5070 Ti | 16 GB GDDR7 | 750 W | 2 x 8-pin connectors |
Source: NVIDIA, GeForce RTX 5070 Ti and RTX 5070 and GeForce RTX 5060 Ti and RTX 5060, consulted on 2 October 2026. These are recommendations for the entire PC, not a power-consumption measurement.
To choose the card itself, read our comparison of RTX 5070, RTX 5060 and RTX 5070 Ti. To balance the CPU and the graphics card, this guide on choosing the best CPU and GPU combination for your next PC helps you avoid bad pairings.
Step 2: install the processor, memory and SSD onto the motherboard
Place the motherboard on its box, outside the case: you can see better and you run no risks. The processor first. Find the gold triangle, align it with the mark on the socket, place it without pressing, then lock it in place. If it asks for force, it’s facing the wrong way.
Next, the memory. With two sticks, the manual shows the dual-channel slots, most often the second and fourth starting from the processor. A firm click on both sides, and it’s good. The NVMe SSD slides into the M.2 slot, then is secured with its small screw. If the M.2 heatsink has a plastic film, remove it.
Cooling comes next. Many CPU coolers (air coolers) arrive with thermal paste already applied; otherwise, a pea-sized amount in the centre of the processor is enough. The classic mistake: the plastic film under the CPU cooler or the water block. The PC overheats almost at once.
Two DDR5 sticks in dual channel are better than one.
Step 3: install the motherboard, the power supply, and the cables
Inside the case, start by checking that the standoffs match your motherboard form factor (ATX or micro-ATX), then fit the I/O shield and screw the board in place. Secure the power supply before you start cabling. If it’s modular, you only connect the cables you actually need, which saves space and lets air circulate.
Three connections make the difference: the 24-pin ATX connector on the motherboard; the CPU power supply, an 8-pin cable placed at the top of the board, which people very often forget; and the front-panel cables: power button, USB, and audio. These small connectors are the most fragile: keep the manual open, and take photos before you close the case.
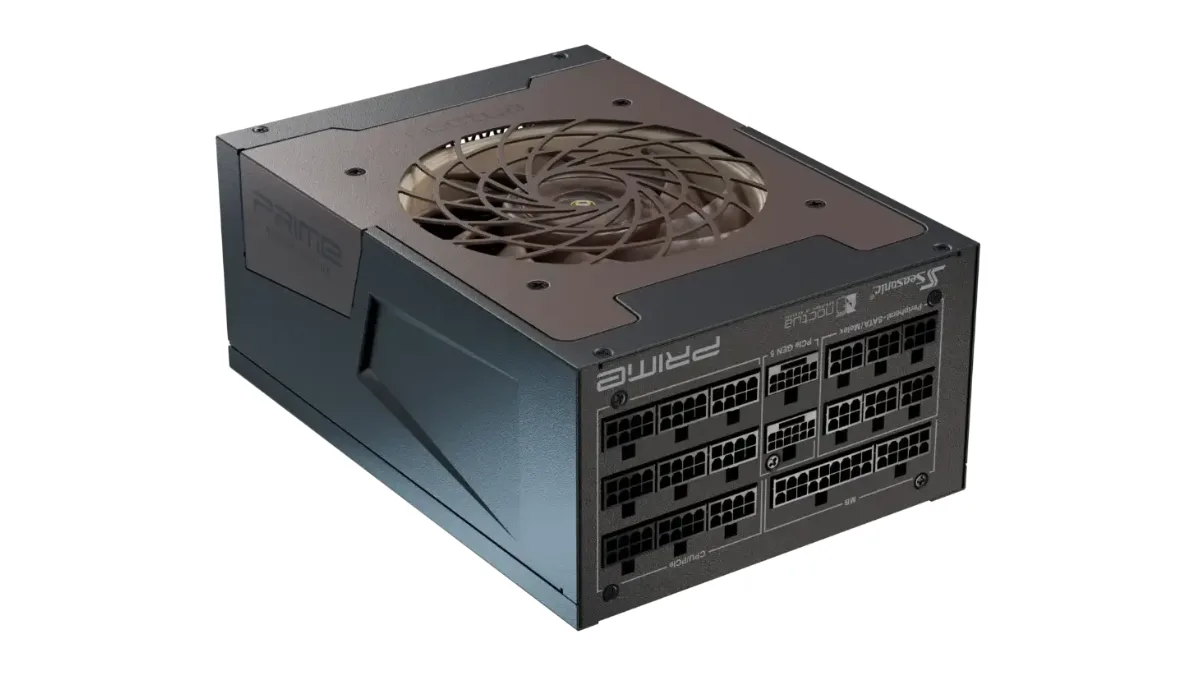
A modular power supply lets you connect only the cables you need.
Step 4: the graphics card, the first boot, and the BIOS
The graphics card goes into the first PCIe x16 slot, clicking it into place. Next come its power cables: one or two 8-pin connectors depending on the model, or the 12V-2x6 connector, which you need to push fully in without bending the cable right next to the plug.
Connect the monitor to the graphics card, not the motherboard. That’s the mistake that causes the most black screens on first boot. On first power-up, don’t panic if the image takes a while to appear: the motherboard needs time to set up the memory.
Next, enter the BIOS (Delete or F2 key, depending on the board). Check that the processor, memory, and SSD are recognised, then enable the EXPO profile (AMD) or XMP (Intel): without it, the memory runs at a much lower speed than advertised.
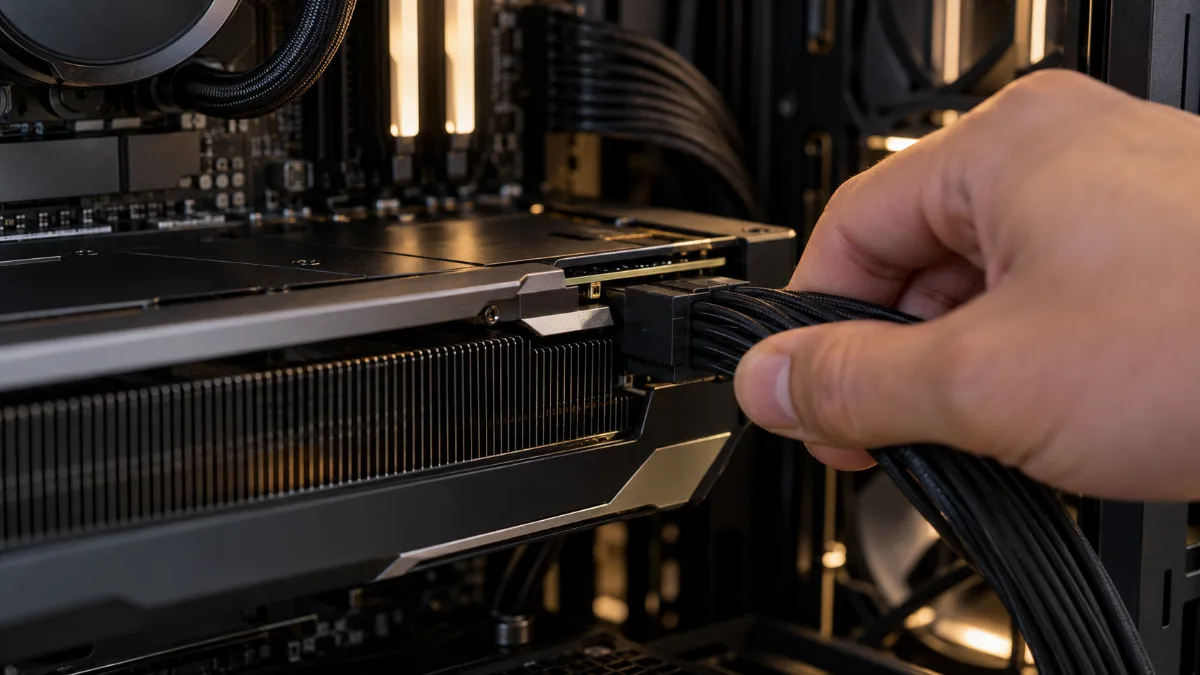
Push a power connector all the way in, until it clicks.
Step 5: Windows, drivers, and stability tests
Create a Windows installation USB drive from the Microsoft website, install Windows on the NVMe SSD, then install the drivers: first those for the motherboard, then those for the graphics card, which you download from the manufacturer’s site.
The step many people skip: the tests. A PC that boots isn’t necessarily a stable PC. Run a stress test like OCCT for about twenty minutes and monitor temperatures and errors. At FlowUP, every PC goes through checks for up to an hour, including 20 minutes of OCCT, and no errors are tolerated before closing the box. The details are in How FlowUP tests and validates your gaming PC.

In the workshop, every PC is checked before shipping.
The build on video
Reading helps, but watching the steps is better. This FrenchHardware video shows how to build a gaming PC in 2026, so you can see each step in action.
FrenchHardware video: how to build your gaming PC in 2026
Build your gaming PC or buy one ready-made: how to decide
Our stance is simple. Build it if you want to learn and pick every component. Buy it assembled if what you want is to play this week. Both are good choices, but they don’t require the same things.
If you’re leaning towards a ready-to-play PC, the 6 points to check before ordering will help you avoid unpleasant surprises, and our delivery, payment, and warranty guide explains what comes next.
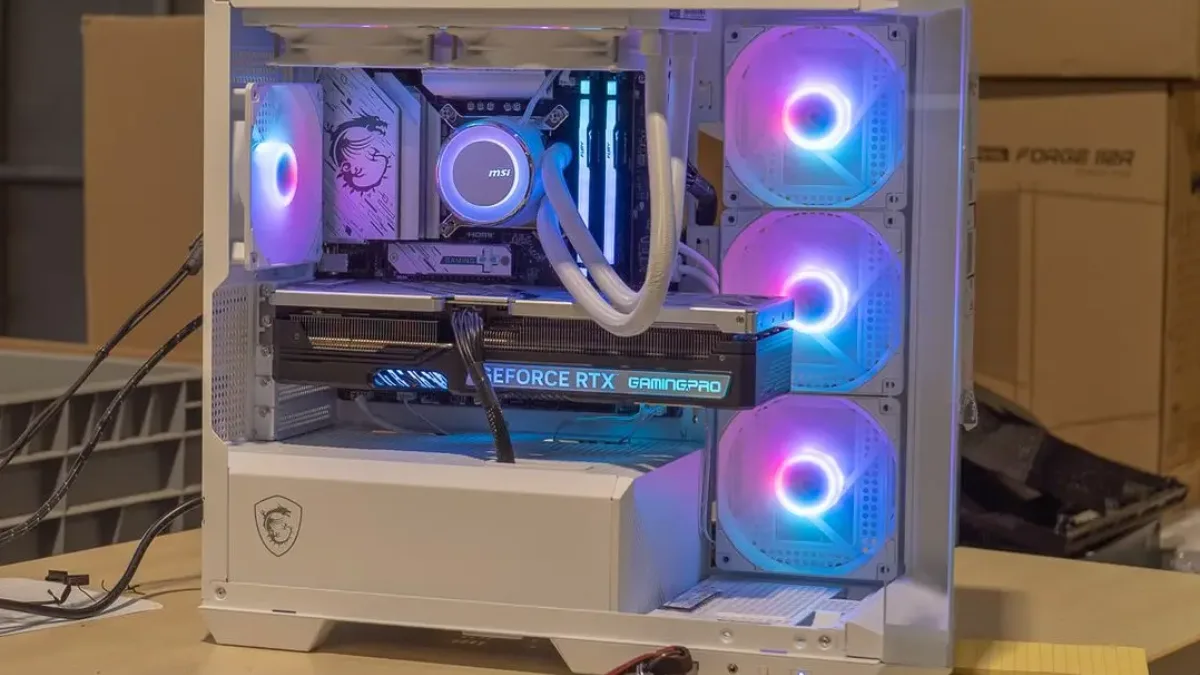
A built and tested PC arrives ready to plug in.
| Criterion | Build it yourself | Buy ready-made from FlowUP |
|---|---|---|
| Time | Half a day or more, not counting the time spent researching compatibility | UPS delivery in 5 to 7 business days, then you plug it in |
| If there’s a problem | You look for the faulty part yourself | Assembly and checks done in the workshop, up to an hour of verification |
| Warranty | Recourse with each manufacturer | One point of contact and 2 years of statutory warranty via FlowUP’s customer service |
| Choice of parts | Total, down to the component | A consistent setup, already validated |
| Enjoyment | You learn and keep control of it | You play straight out of the box |
Source: Delivery page from flowup.shop and Warranty page, consulted on 2 October 2026.
Three FlowUP PCs if you’d rather play right away
Here are three PCs we love for different uses. No compatibility checks to do: everything is already assembled and tested. The FlowUP PC category covers the rest of the range.
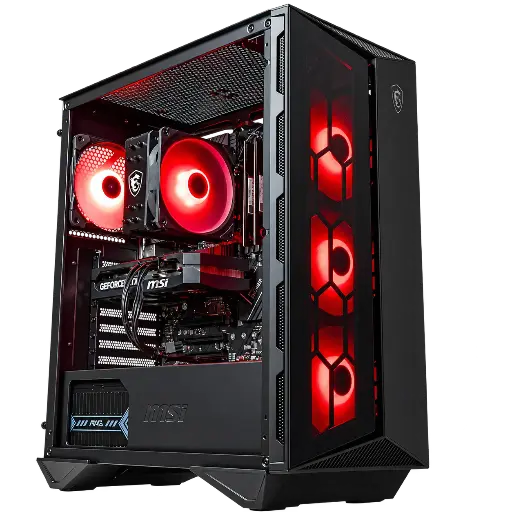
Banger PC, RTX 5060: built for Full HD
The Banger comes with a GeForce RTX 5060, designed for gaming in Full HD. It’s the quickest way to go from unboxing to your first match.
See the PC
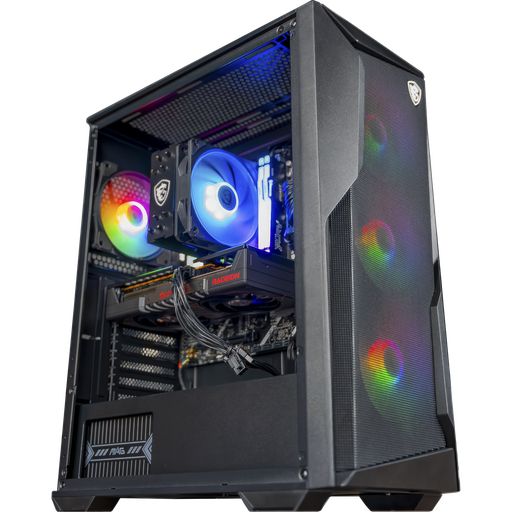
Rift PC, Radeon RX 9060 XT 16 GB: room to breathe in video memory
The Rift pairs a Ryzen 5 with a Radeon RX 9060 XT and its 16 GB of video memory, so you can aim for 1080p as well as 1440p without having to hold back on textures.
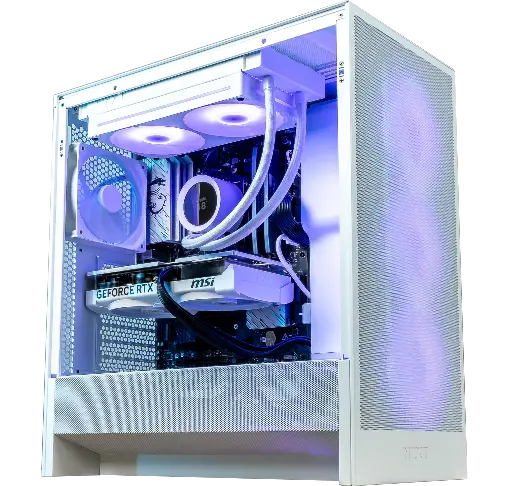
Novara PC, GeForce RTX 5070: the assembly we like to delegate
The Novara brings together an RTX 5070 with 12 GB, a Ryzen 5 7500X3D, 16 GB DDR5, a 1 TB SSD, and an NZXT Kraken Plus 240 RGB liquid cooler. Mounting the radiator and connecting the pump takes care and attention. Here, it’s already done.
Frequently asked questions
How long does it take to build a gaming PC?
For your first build, allow half a day, taking the time to reread the manual. With experience, the assembly itself becomes much faster.
What tools do you need to assemble a gaming PC?
A Phillips screwdriver is usually enough. Also have cable ties on hand to tidy up the inside, and thermal paste if your heatsink doesn’t already include it.
In what order should you assemble a gaming PC?
Component compatibility first, then processor, memory, SSD and cooling on the motherboard, next motherboard, PSU and cables in the case, graphics card, BIOS, and finally Windows, drivers and tests.
Do you need to reapply thermal paste to a brand-new heatsink?
Not necessarily: many heatsinks arrive with the paste already applied. Check the manual, and remove the plastic film underneath the base.
My PC won’t start after assembly, what should I check?
In this order: the 8-pin processor cable, the 24-pin motherboard cable, the memory firmly clicked in on both sides, the PSU switch, and the monitor connected to the graphics card.
Is it better to build your own PC or buy a pre-built gaming PC?
It depends what you’re looking for. Building it yourself teaches you a lot and gives you full control. Buying pre-built saves time and gives you a single point of contact in case of a breakdown.
Sources
- NVIDIA, GeForce RTX 5070 Ti and RTX 5070, specifications (accessed 2 October 2026)
- NVIDIA, GeForce RTX 5060 Ti and RTX 5060, specifications (accessed 2 October 2026)
- FrenchHardware, How to build your GAMING PC in 2026 (accessed 2 October 2026)
- FlowUP, Delivery page (accessed 2 October 2026)
- FlowUP, Warranty page (accessed 2 October 2026)
- FlowUP, How FlowUP tests and validates your gaming PC (accessed 2 October 2026)
