
By the FlowUP team, gaming PC builder in Genappe (Belgium) · Updated 28 September 2026
In short: it all depends on what happens when you press the Power button. Nothing lights up: check the mains socket, the cable, the switch on the back of the power supply, then the button and the front panel. Fans spin but the screen stays black: video cable, RAM, graphics card. The PC powers on but Windows doesn’t load: automatic repair or Safe Mode. As a last resort, reset the BIOS (Clear CMOS).
A computer that won’t start is stressful, especially when you need it to work, study, or play. Good news: most problems are found with a few simple checks, without any special tools.
This guide follows the logical order of troubleshooting: first power, then hardware, then Windows. Start by identifying your symptom in the table below.
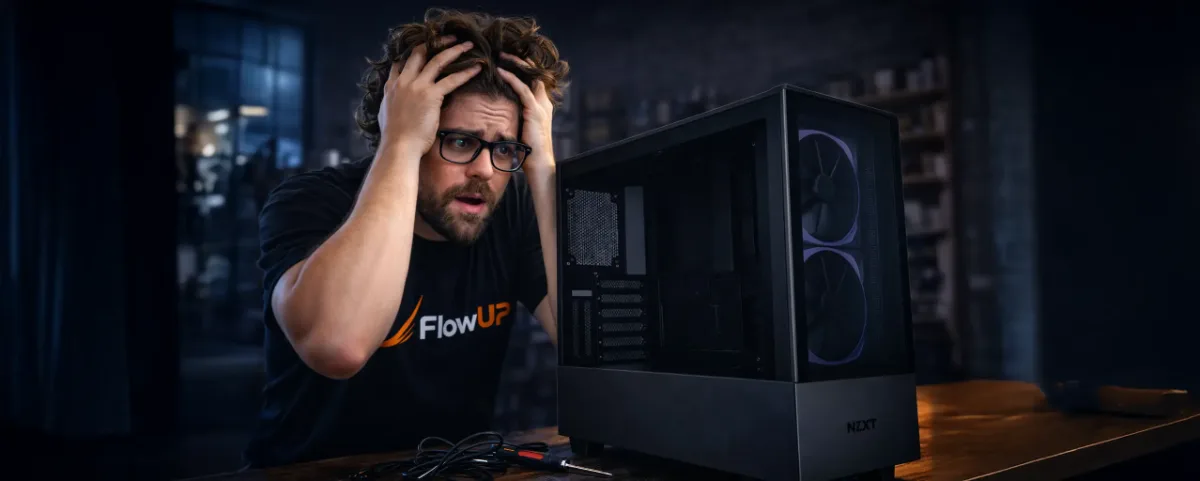
Quick diagnosis: what happens when you press Power?
| Symptom | Likely cause | To read |
|---|---|---|
| Nothing at all: no lights, no fans | Power, power supply, button or front panel | Step 1, step 3 |
| The fans spin for a second, then everything stops | Short circuit, power supply, CPU cable not plugged in correctly | Step 2 |
| The fans spin, but the screen stays black | Video cable, RAM, graphics card | Step 2 |
| Beeps at startup | RAM or graphics card not installed correctly | Step 6 |
| The logo appears, then it freezes, loops, or shows a blue screen | Windows, driver, hard drive/SSD | Step 4 |
1. Basic checks to do immediately
1.1 Check the electrical connections
Before thinking about a major problem, check the connections. It sounds obvious, but a cable that isn’t fully seated is one of the most common causes.
- The PC’s power cable is properly plugged in on both sides, into a working mains socket.
- The switch on the back of the power supply is set to “I” (not “O”).
- The screen is on and connected.
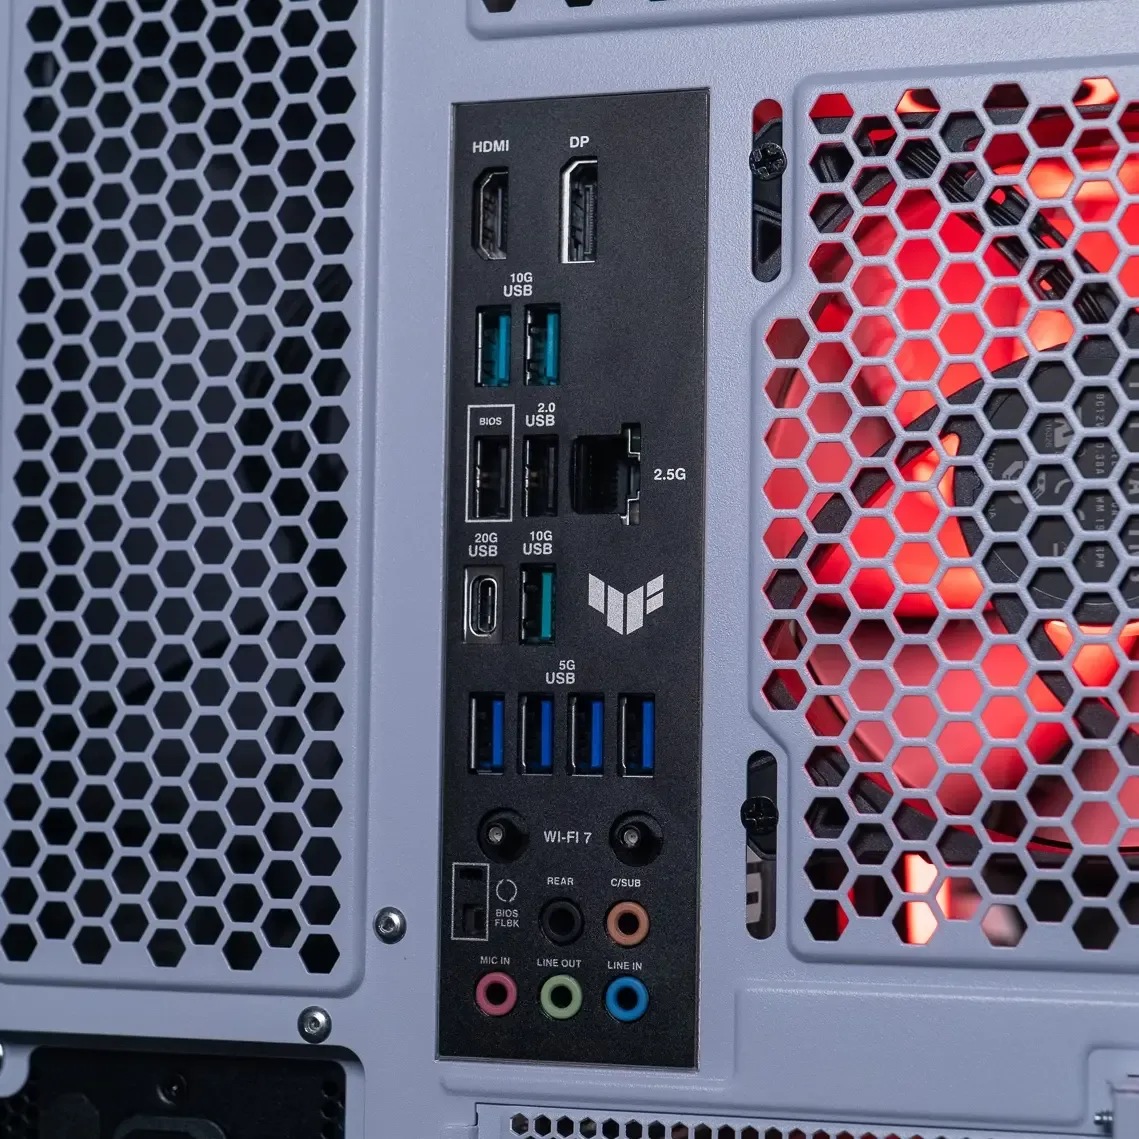
- The HDMI or DisplayPort cable is connected to the graphics card, not to the motherboard’s video output.
1.2 Test the power button
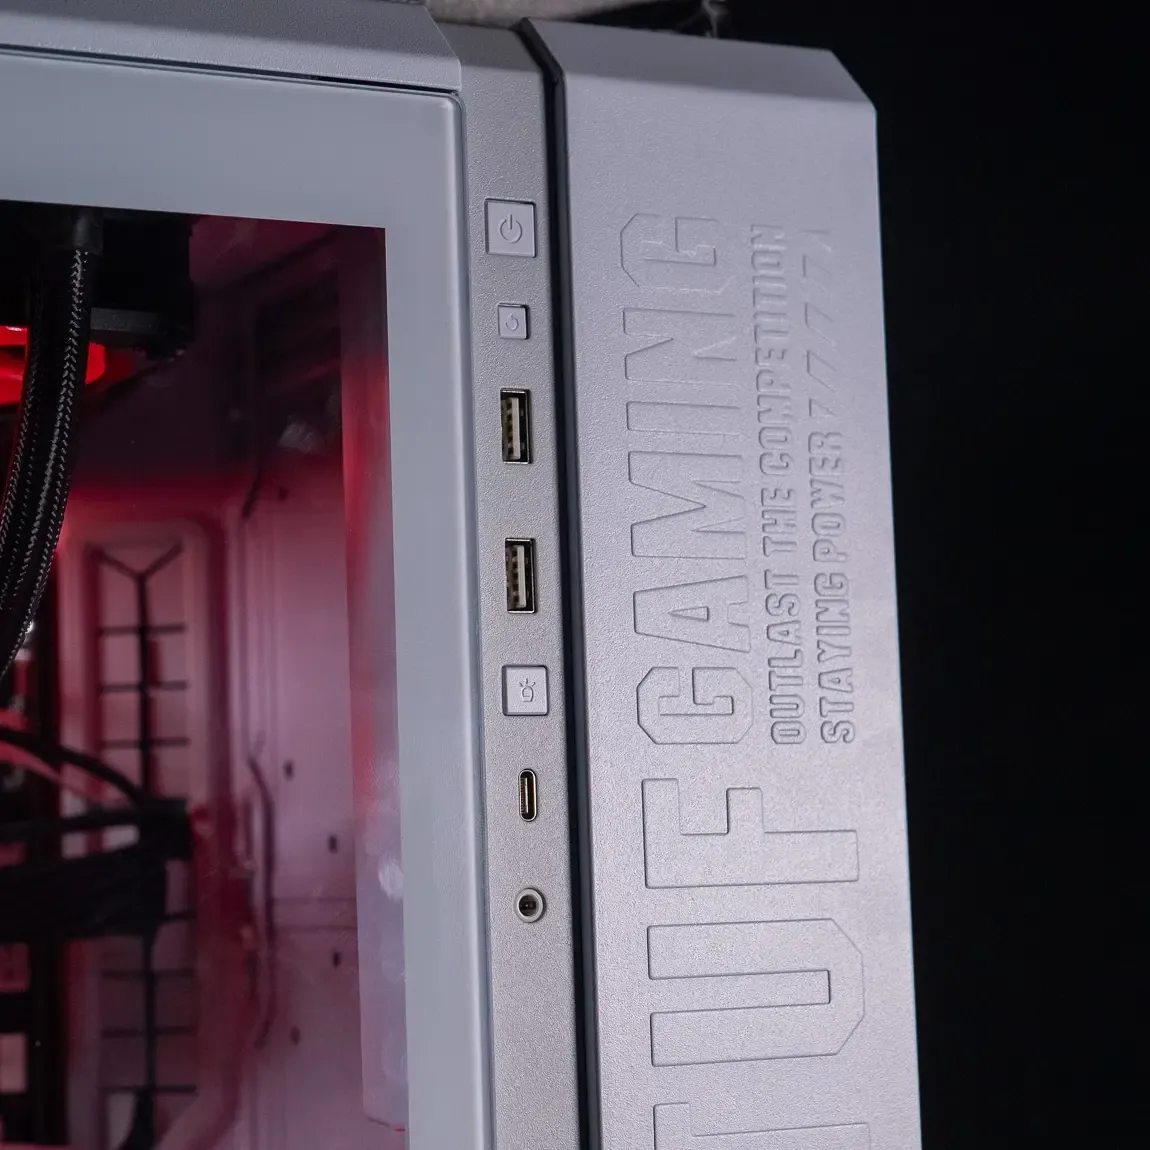
Press the Power button firmly and watch: a light comes on, a fan noise, a beep? If nothing happens:
- Check that the button cable is properly connected to the motherboard (see step 3 on the front panel).
- If you’re comfortable doing so, start the PC by briefly touching both “Power SW” pins on the motherboard with a screwdriver. If the PC boots, then the button or its cable is the culprit.
Caution: this is done with the PC plugged in, the case open. Only touch the two Power SW pins, never any other component.
1.3 Try a different wall socket
The problem may be the socket itself. Plug the PC directly into another wall socket, without a power strip or extension lead, and test the socket with a lamp. A worn-out power strip or a surge protector that has “tripped” can cut the power without showing any obvious signs.
The IA Informatique video below (in French) revisits these initial checks in images, from the power outlet to inside the case:
Is your motherboard suspicious? Our guide dead motherboard: symptoms and tests details the diagnostic LEDs and the method for isolating the faulty component.
2. Eliminate sources of physical conflicts
2.1 Unplug all USB devices
An external device can prevent the system from starting, especially if the BIOS is trying to boot from it. Unplug everything except the keyboard and the screen: USB sticks, external drives, printer, headset, webcam, game controller. If the PC boots, reconnect the devices one by one to find the culprit.
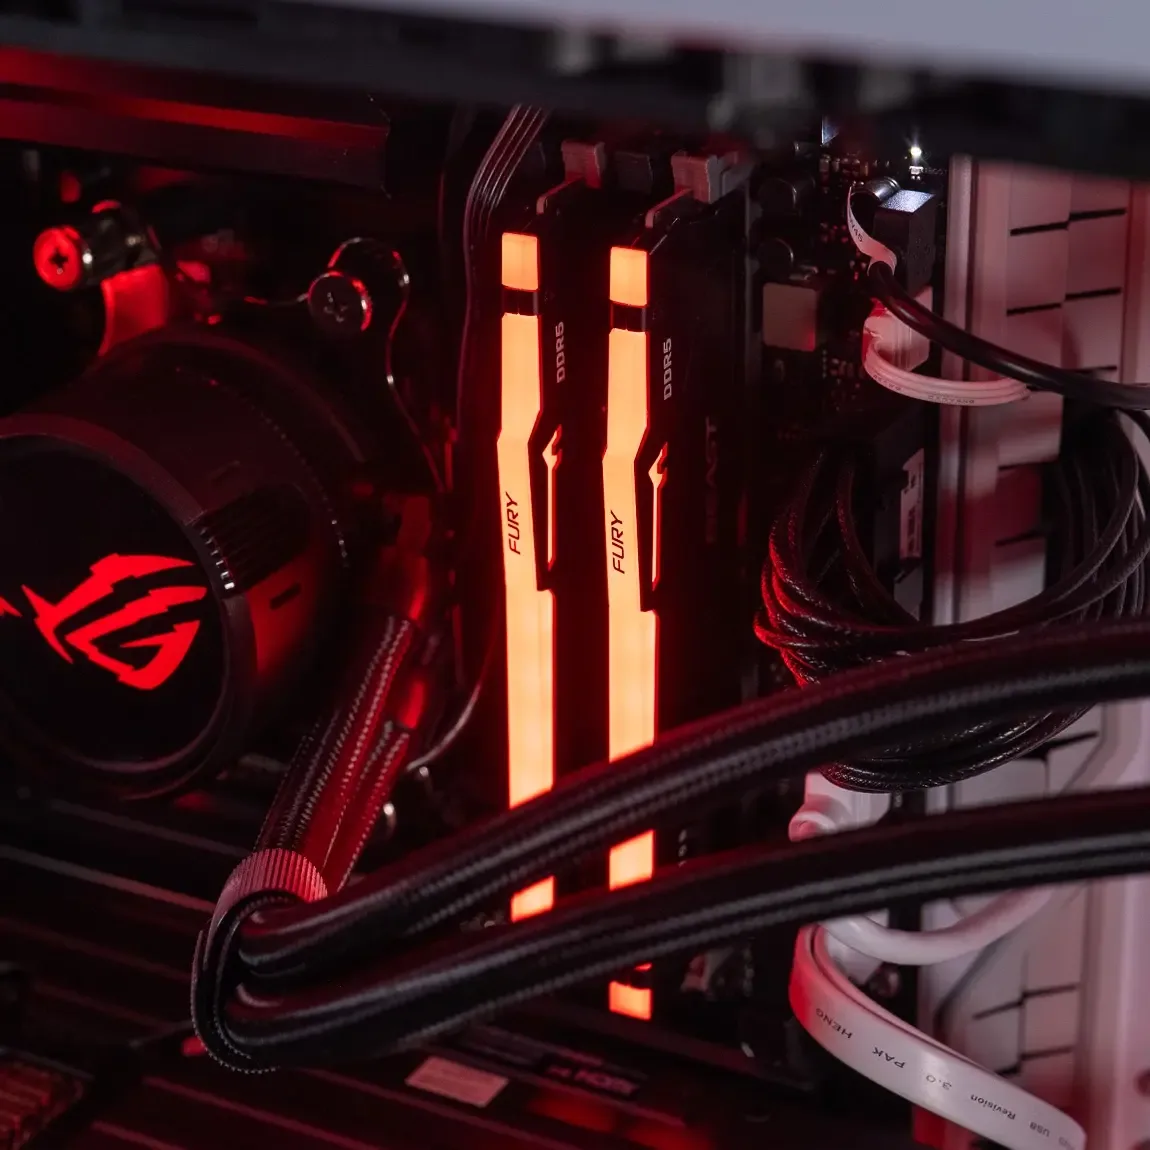
2.2 Remove and test the RAM sticks
Random-access memory (RAM) is often the cause when a PC powers on but no image appears. Here’s the procedure:
- Turn off the PC and unplug it.
- Open the case and touch a metal part to discharge yourself.
- Remove all RAM sticks.
- Put just one back in, in the slot recommended by the manual (often the second one starting from the processor), then try to boot.
- Repeat with each stick, then try another slot.
To choose a compatible replacement bracket, see our guide how to choose your RAM in 2026.
2.3 Check the graphics card
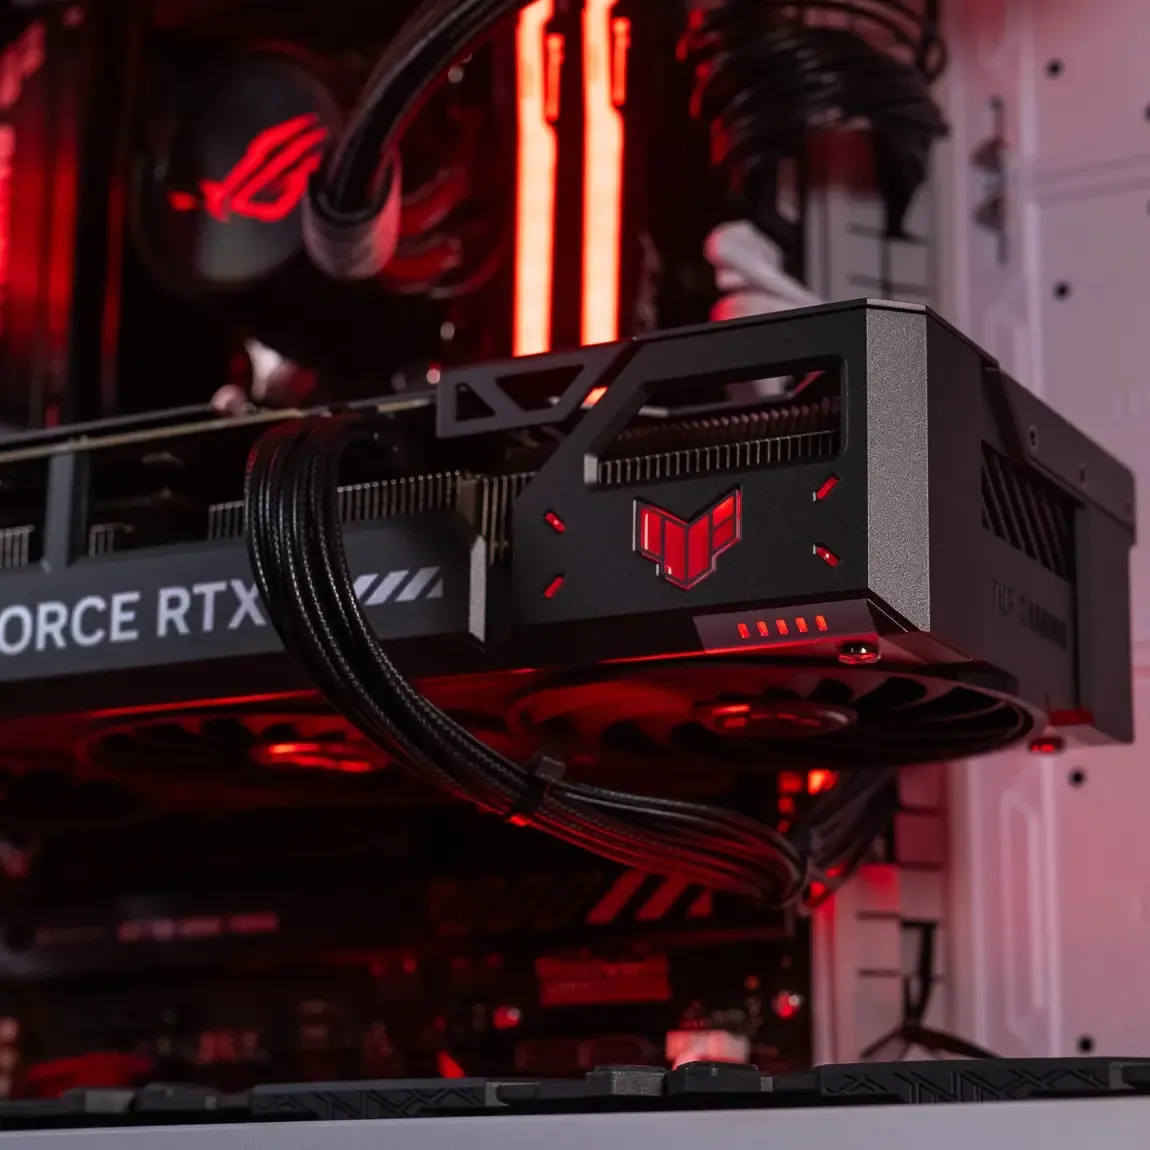
If your PC has a dedicated graphics card, it may have come loose during transport. Unplug it, then reinsert it until the latch clicks into the PCI-Express port, and check its power cables (6, 8-pin or 12V-2x6).
If your processor has an integrated graphics chip, connect the monitor to the motherboard and remove the graphics card: if the image comes back, the card is the problem. For a display that stays black while the PC is running, follow our guide black screen, no display.
2.4 Inspect the internal power cables
Three cables must be pushed in firmly: the 24-pin connector on the motherboard, the 4+4 or 8-pin connector from the processor (EPS, top left of the motherboard) and the one or more cables from the graphics card. A forgotten CPU cable gives exactly this symptom: the fans spin, but nothing is displayed.
Tip: follow each cable with the flashlight on your smartphone, from the power supply to the component.
3. Check the front panel and the Power button
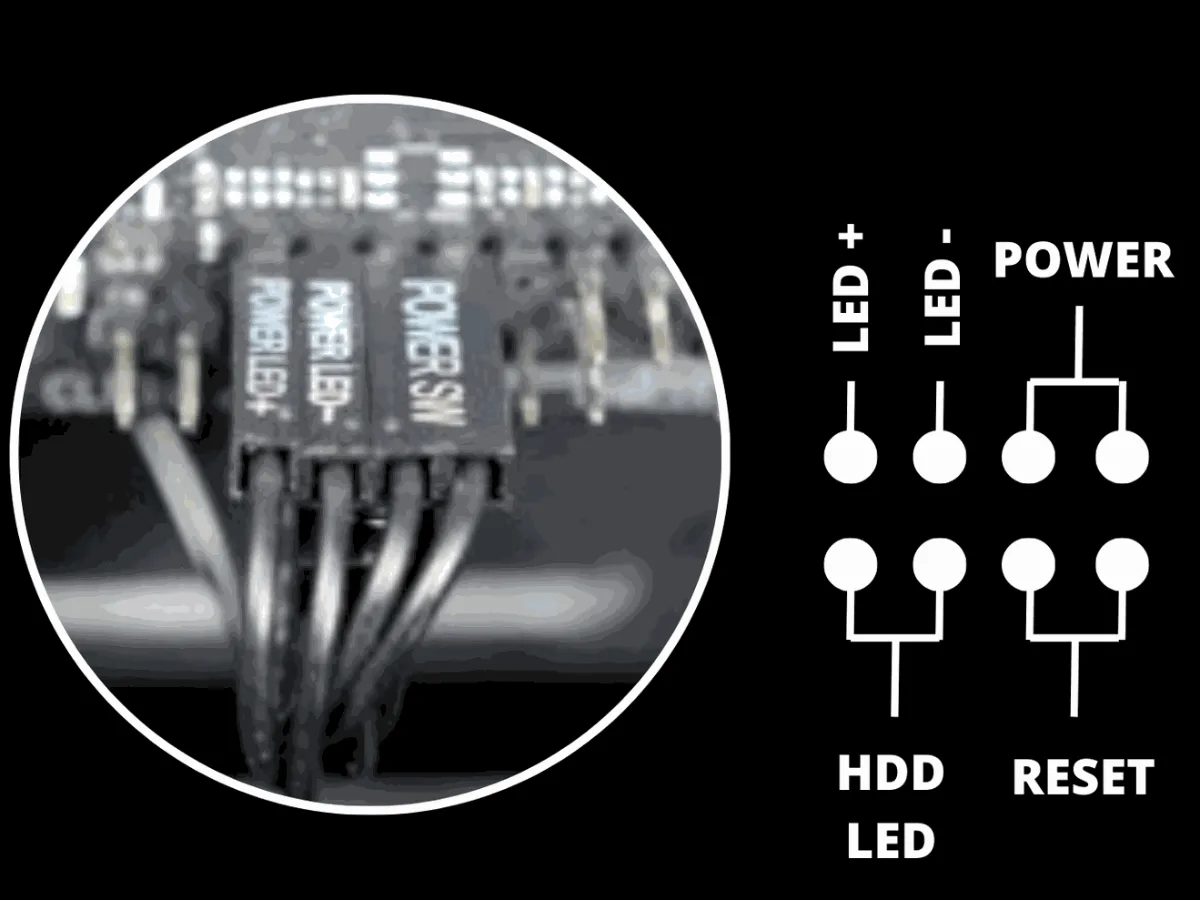
The front panel consists of the small cables that connect the Power and Reset buttons and the case LEDs to the motherboard. If it’s connected incorrectly, the power button sends no signal: the PC stays off while everything else works.
How to reconnect the front panel correctly
- Open the manual for your motherboard (or its PDF version on the manufacturer’s website).
- Locate the front panel connector, most often at the bottom right of the motherboard.
- Connect Power SW, Reset SW, Power LED and HDD LED to the correct slots. The buttons have no polarity, the LEDs do (+ and -).
Once the cables are in place, switch the PC back on.
4. Your PC powers on but Windows won’t load?
If the fans are spinning, the manufacturer logo appears, but Windows keeps getting stuck, restarts in a loop, or shows a blue screen, the problem is probably software. First, check in the BIOS that the Windows drive is detected and set first in the boot order: our guide access the BIOS explains how to get in.
4.1 Start in Safe Mode
Safe Mode starts Windows with the bare minimum of drivers. It allows you to uninstall a driver or update that blocks startup.
- On Windows 10 and 11, the F8 key generally no longer works. Instead, force three failed restarts in a row (press and hold Power as soon as the logo appears): Windows then launches the recovery environment.
- Choose Troubleshoot > Advanced options > Startup Settings > Restart.
- Press 4 (or F4) for Safe Mode, or 5 for Safe Mode with networking.
4.2 Use Windows recovery tools
From the same Advanced options menu, Windows offers several tools:
- System restart tool (automatic repair): fixes boot files.
- System Restore: returns to an earlier restore point.
- Uninstall updates: useful if the problem started right after an update.
- Reset this PC: reinstall Windows while keeping your files or not, depending on your choice.
If the recovery environment doesn’t start, boot from a Windows installation USB drive. Microsoft details these options on its page recovery options in Windows.
5. Last resort: reset the BIOS (Clear CMOS)
An unsuitable BIOS setting (overclocking, memory profile too aggressive, interrupted update) can prevent the PC from booting. Resetting the BIOS restores the factory settings:
- From the BIOS, if it’s still accessible: choose the option “Load Optimized Defaults”, then save.
- With the Clear CMOS button on the back of some motherboards.
- With the jumper CLR_CMOS or JBAT on the motherboard, depending on the manual.
- By removing the CMOS battery (CR2032 coin-cell): the PC should be off and unplugged, remove the battery for a few minutes, then put it back.
All methods are explained step by step in our guide Clear CMOS: what it is and how to do it.
6. Common faults and quick fixes
| Sign | Likely cause | Solution |
|---|---|---|
| Beep codes during startup or “DRAM” light on | RAM incorrectly installed or defective | Test each memory stick separately (step 2.2) |
| “VGA” light on, no image | Graphics card or video cable | Reseat the card, test the motherboard video output |
| “CPU” light on | CPU power cable, processor not properly installed | Check the EPS 8-pin cable |
| No lights, no sound | Power supply or motherboard not getting power | Check the 24-pin, test the power supply |
| Message “CPU Fan Error” | CPU fan missing or unplugged | Plug the fan into CPU_FAN |
The diagnostic LEDs (often called EZ Debug LED or Q-LED) are present on most recent motherboards, near the RAM. Their exact meaning is listed in the manual. If your PC starts up and then turns off after a few seconds or minutes, our guide why my computer turns off by itself explains the power-supply test.
7. What to do if the problem persists?
If the PC still won’t start after all these checks, a technician can test the motherboard, the processor and the power supply using spare parts. This avoids buying components at random.
Did you buy your PC from FlowUP? Contact our support before opening the case. And if your machine is old and the repair is too expensive, a more recent gaming PC ready to play may be the most reassuring solution:
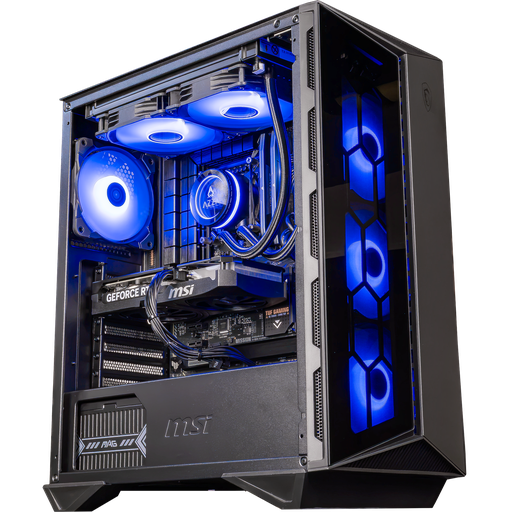
Swift PC, GeForce RTX 5060 Ti 16 GB
Core i5-14400F and RTX 5060 Ti 16 GB: a solid base for gaming in 1080p and 1440p.
FAQ: computer won’t start
What to do if no lights come on?
Power isn’t reaching the motherboard. Check the wall socket, the mains cable and the switch at the back of the power supply, then test another power supply if possible.
My PC powers on but the screen stays black, why?
Most of the time, the video cable is plugged into the motherboard instead of the graphics card, or a RAM stick has not been installed correctly. Our guide black screen, no display covers all the causes.
Is it dangerous to test the front panel pins?
Not if you touch only the two Power SW pins with a screwdriver, briefly. The risk comes from contact with another component: if you’re in doubt, call someone experienced.
My PC starts up and then shuts off, what should I do?
A cut-off after a few seconds points to the power supply, a short circuit, or a badly connected processor cable. See our guide PC that turns off by itself.
How long does a desktop PC last?
In practice, a well-maintained desktop PC often lasts 5 to 8 years. The components that fail the earliest are generally the power supply, the fans and the drives.
